Concealed Bracket Awning Sydney

Slimline 100

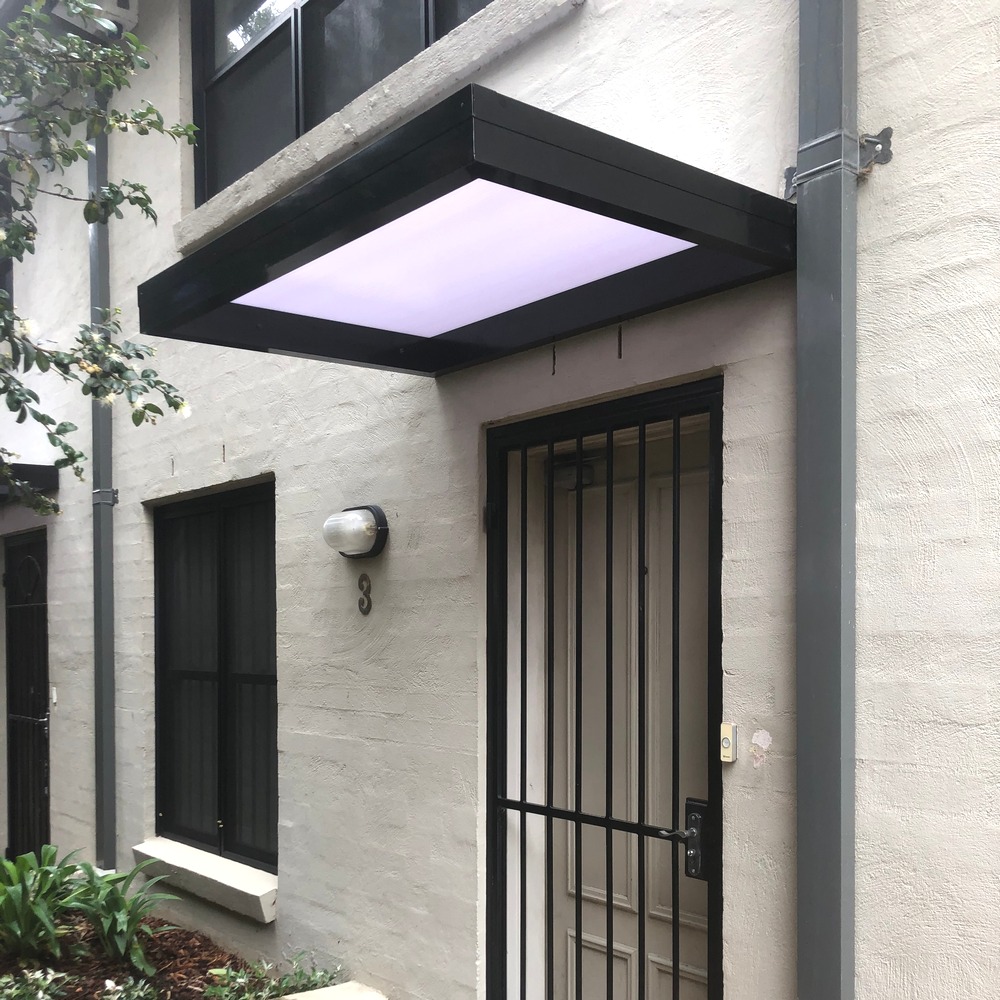
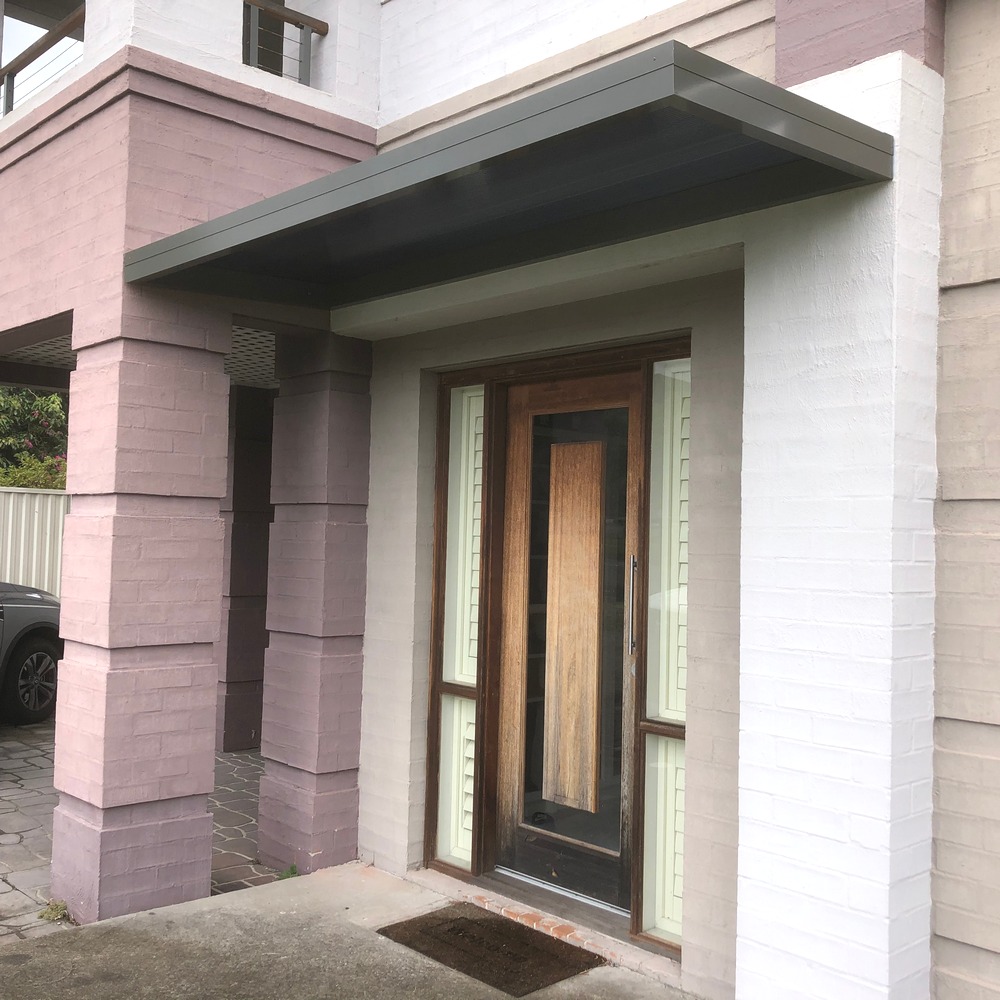
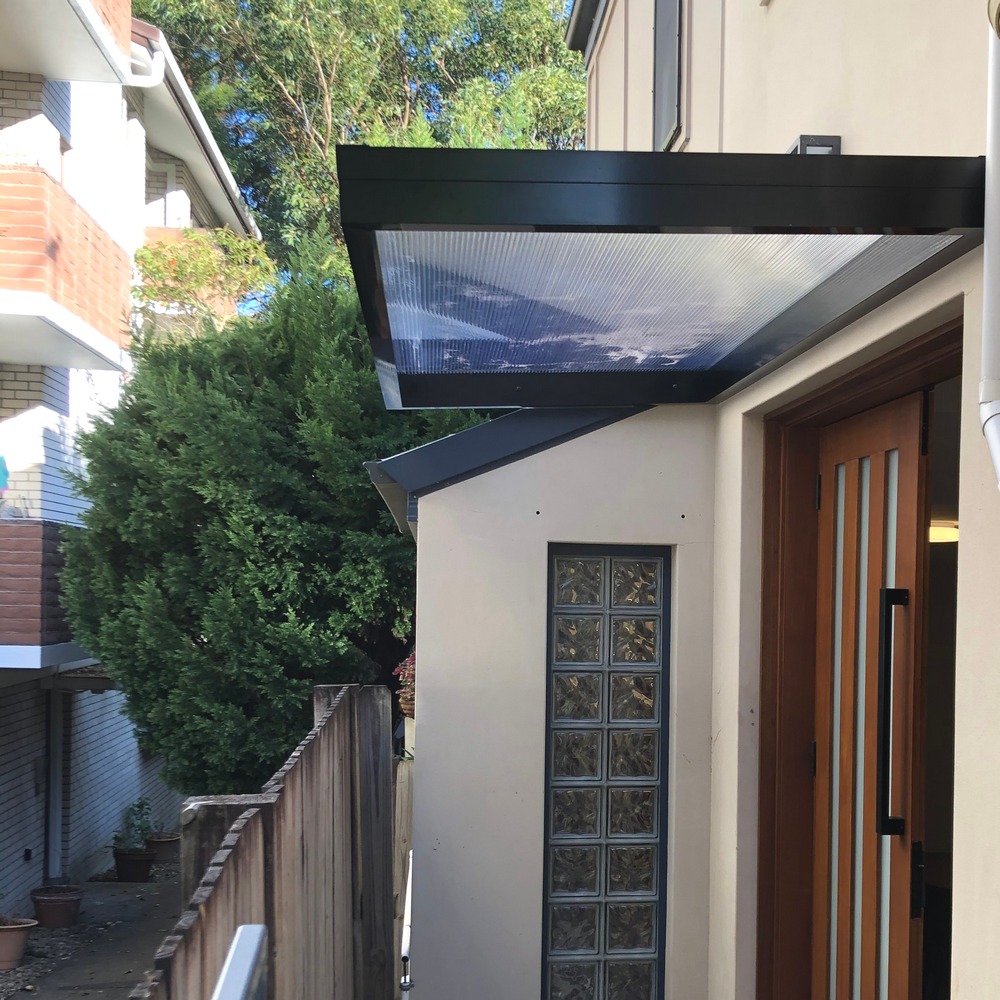
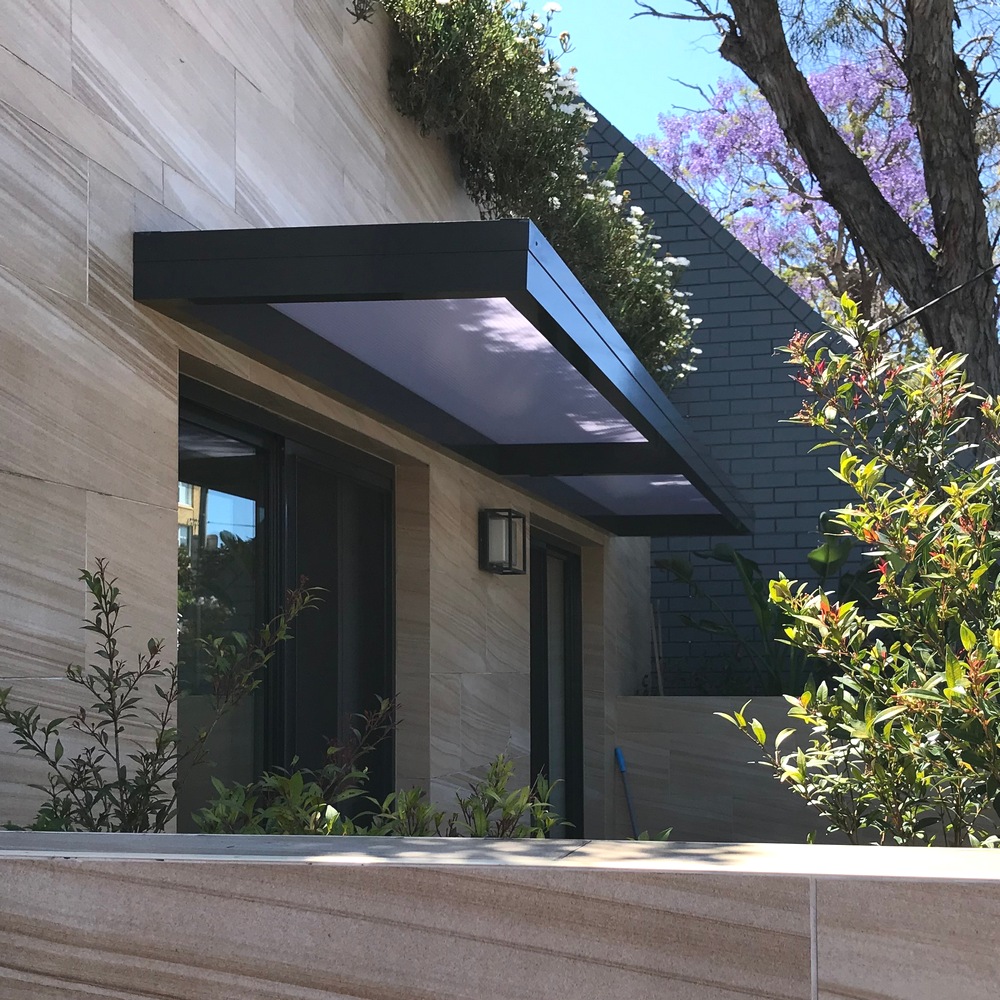
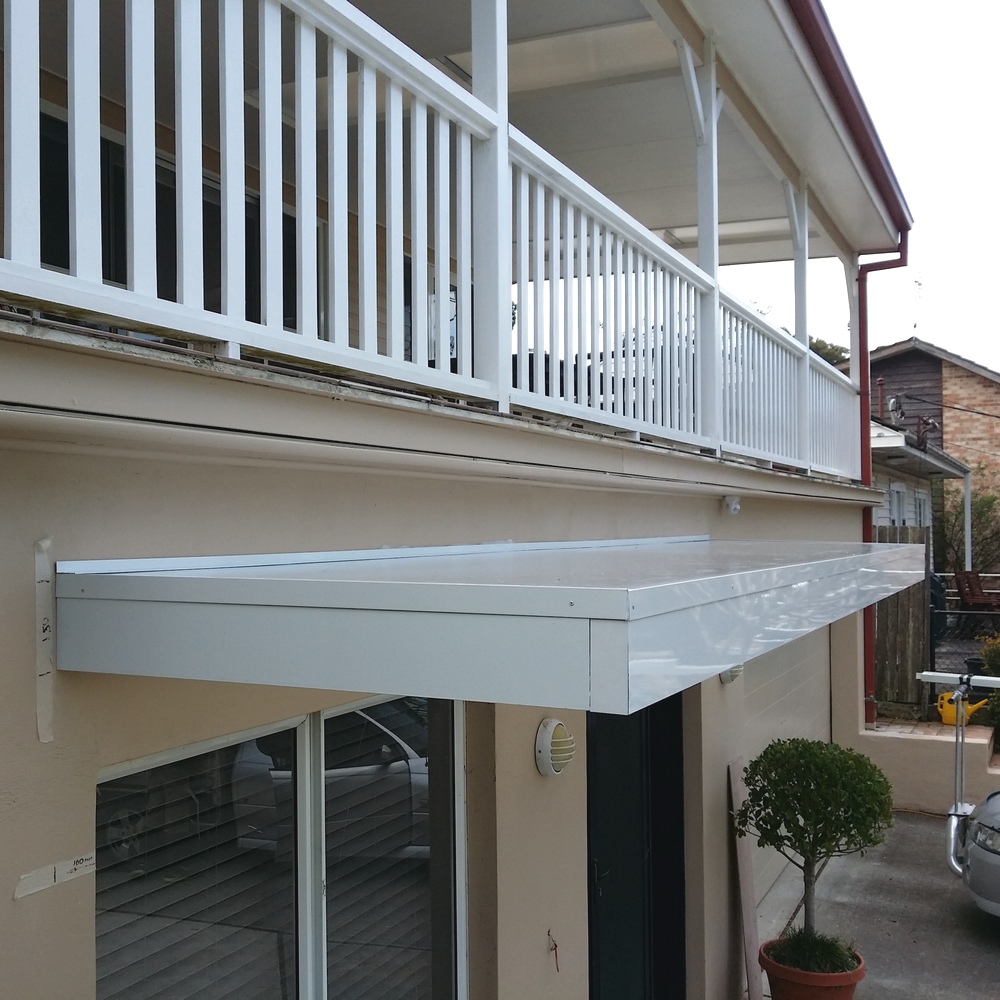
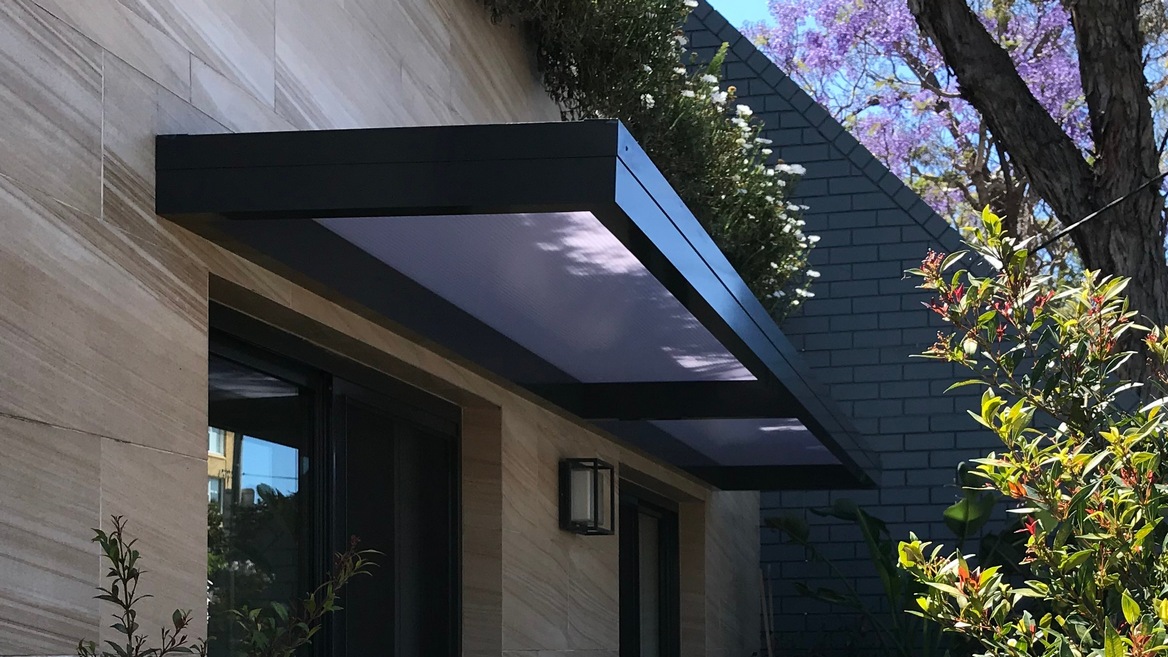
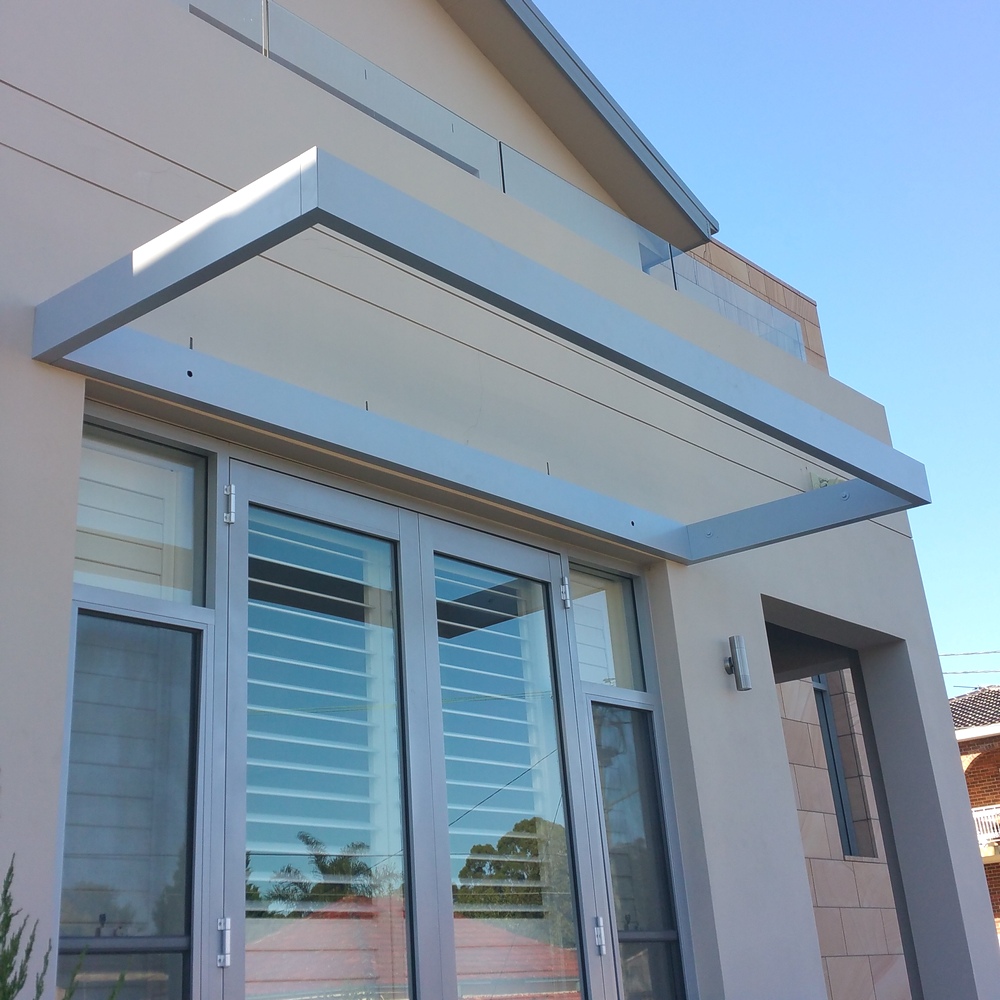
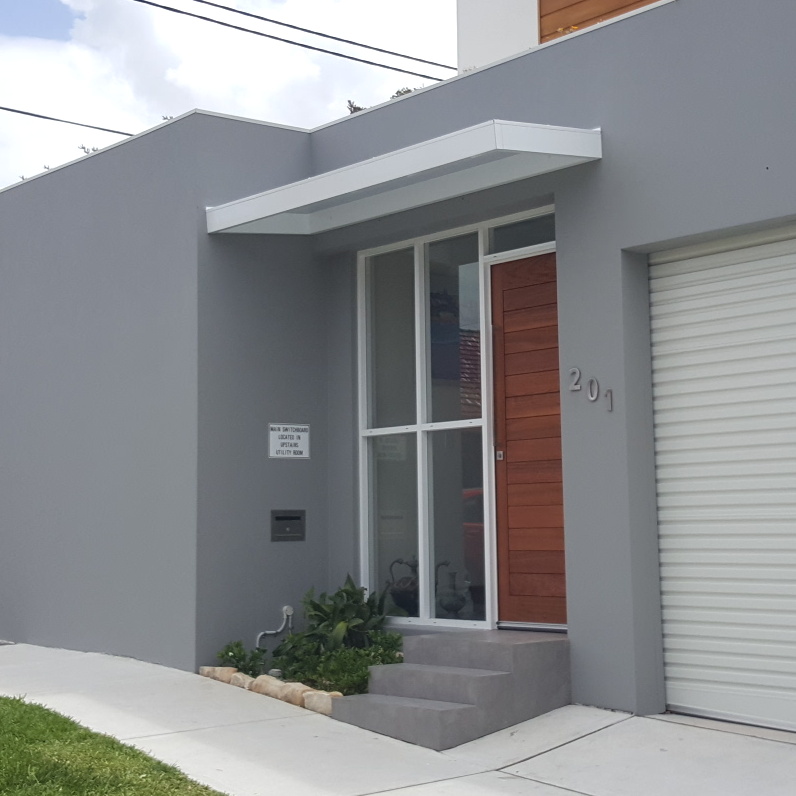
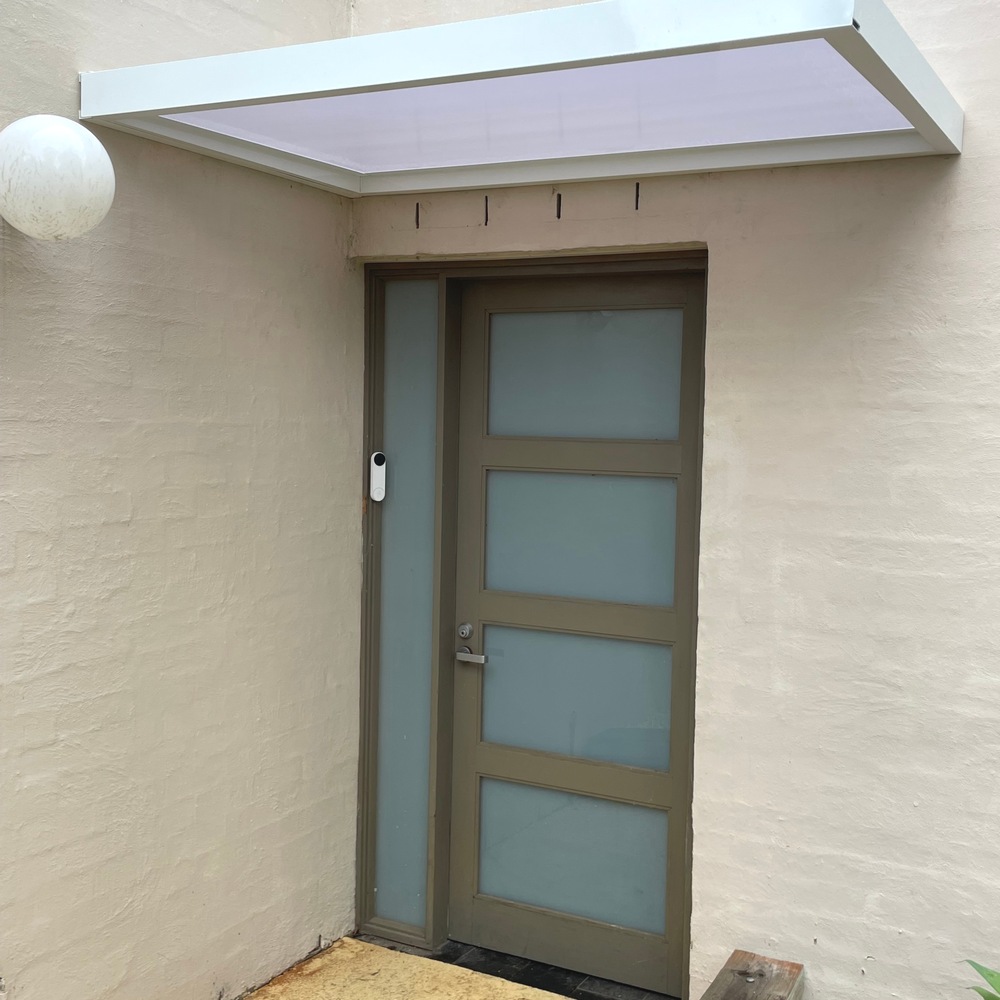
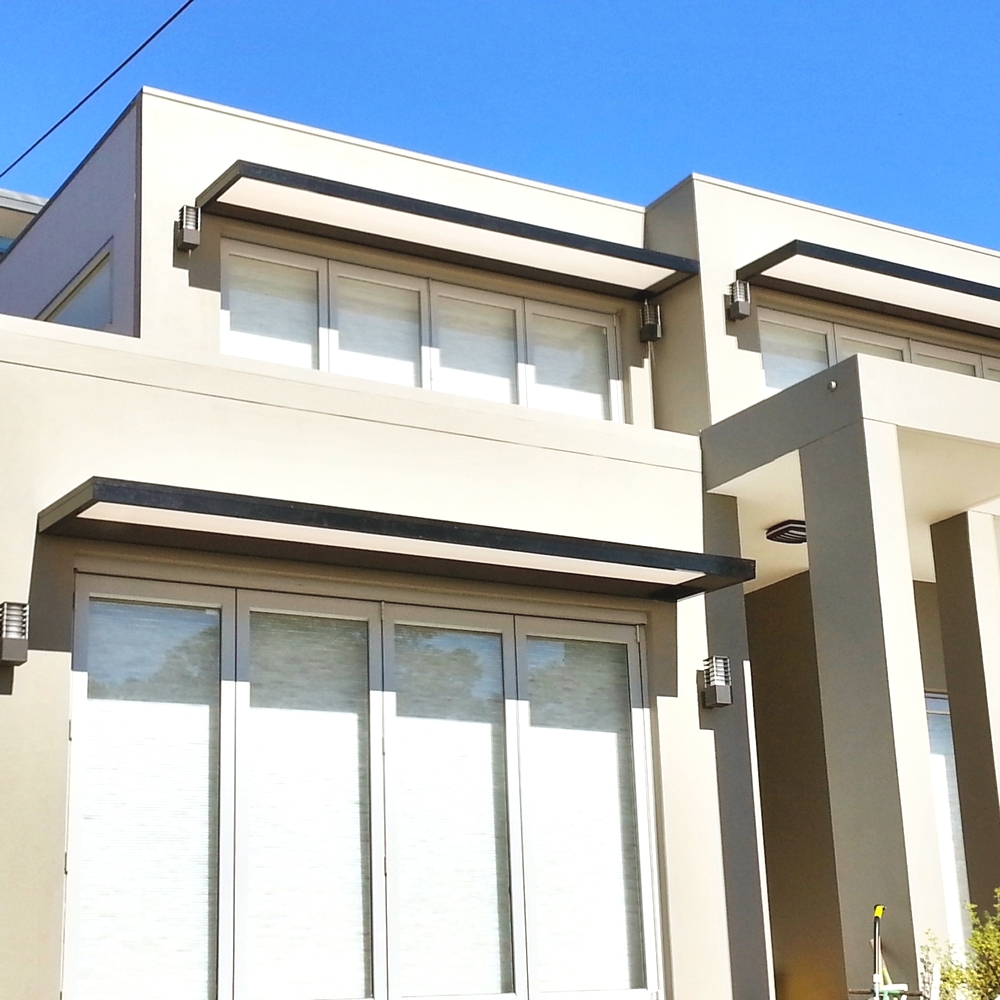
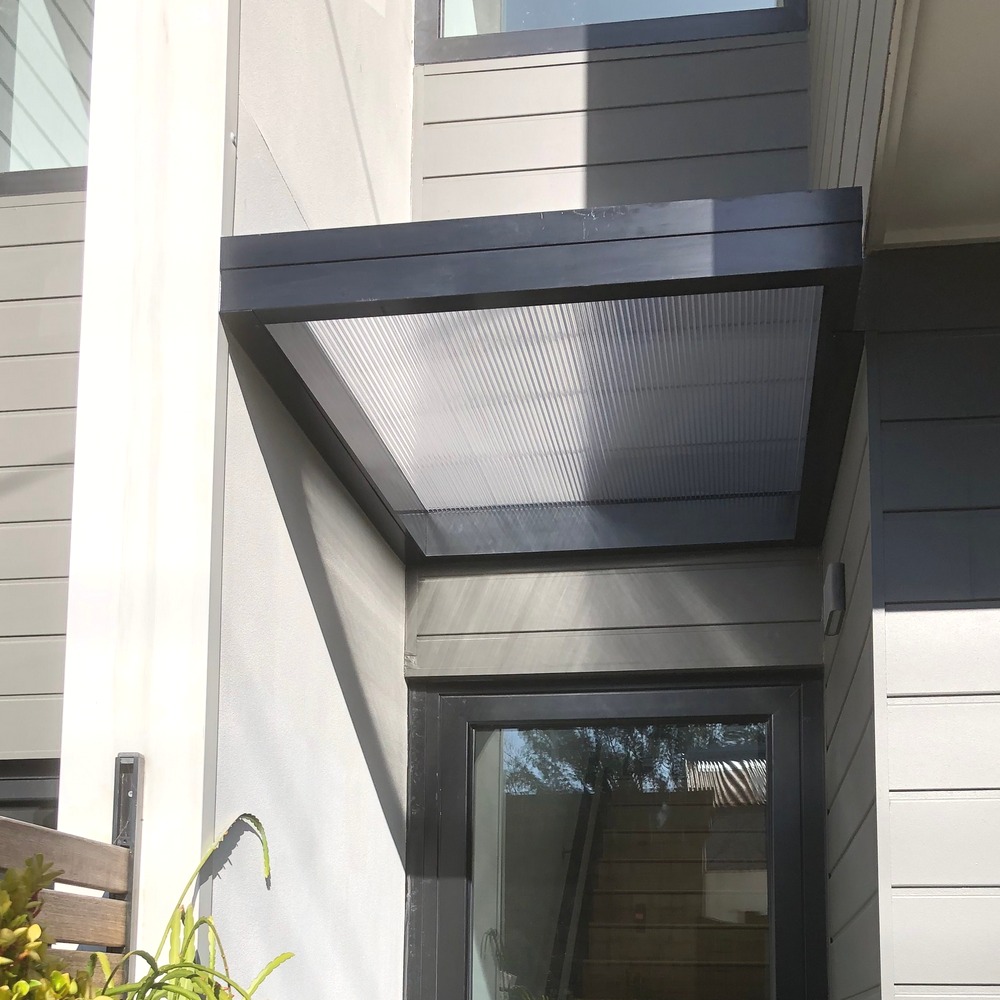
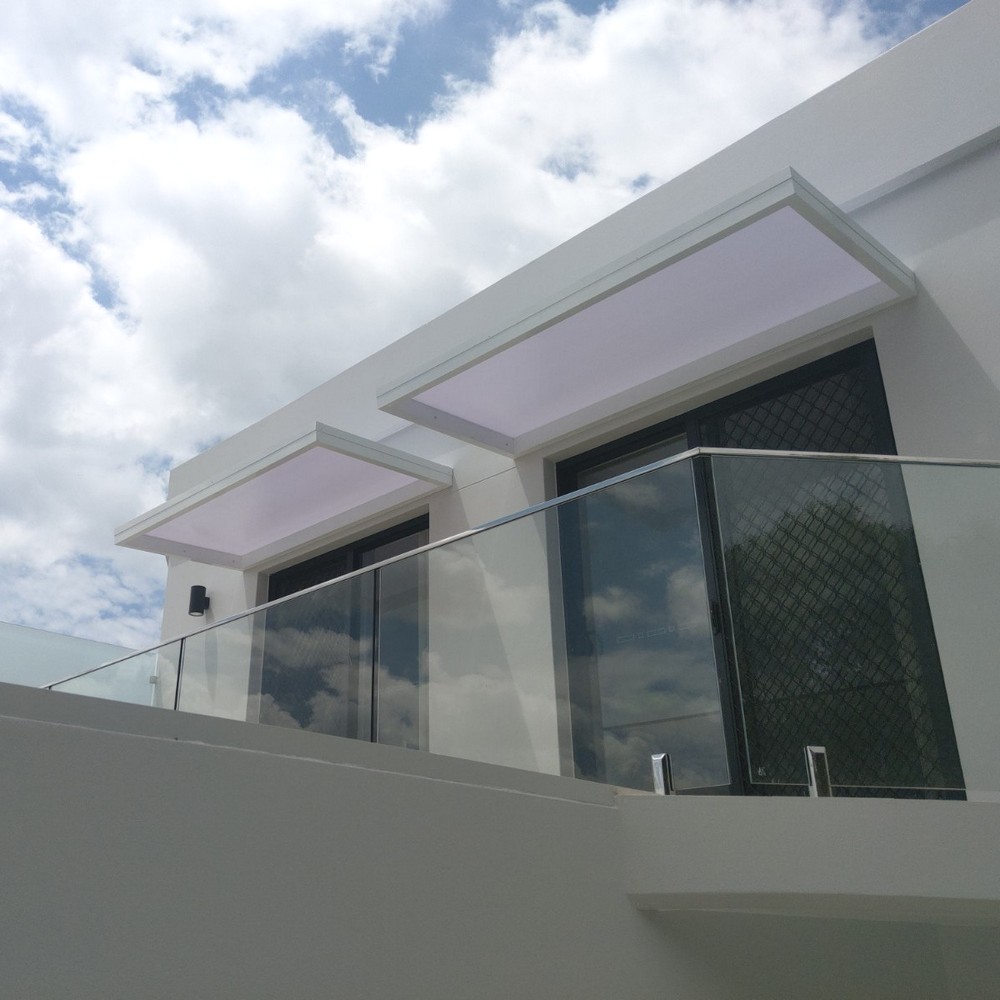
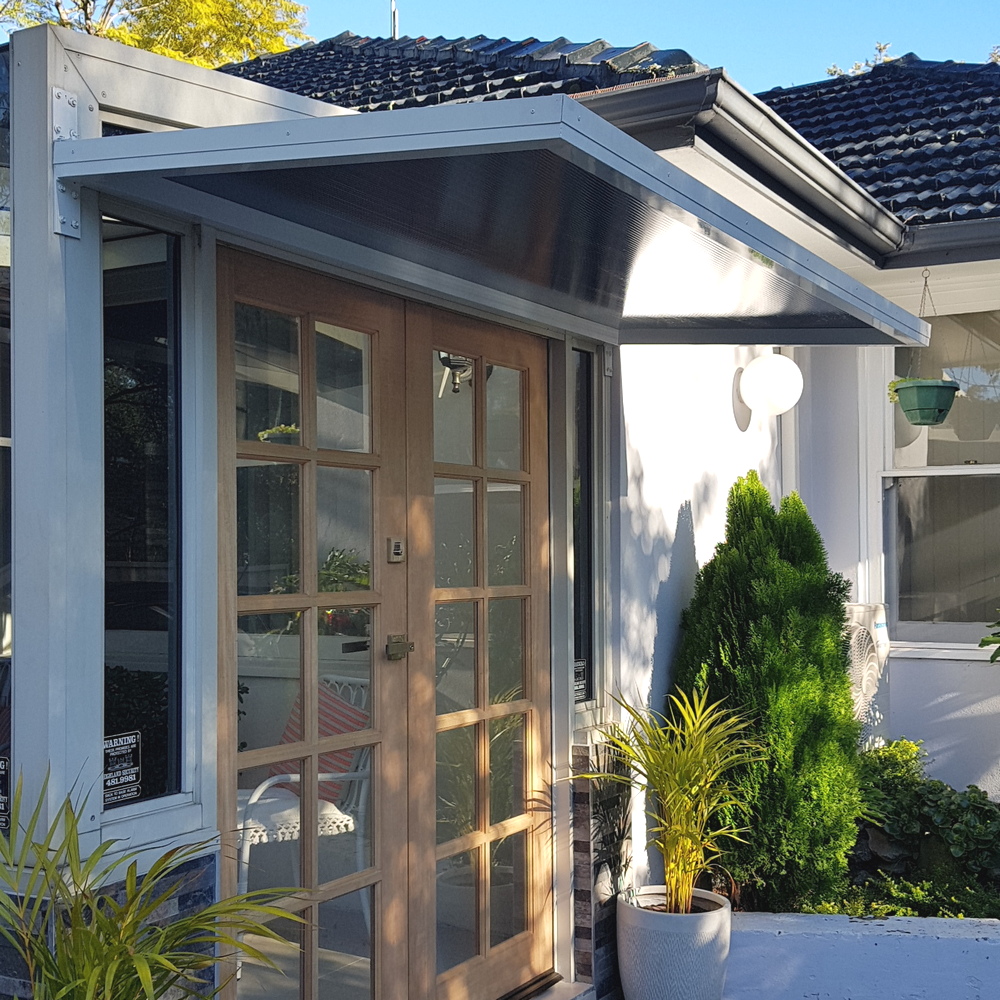
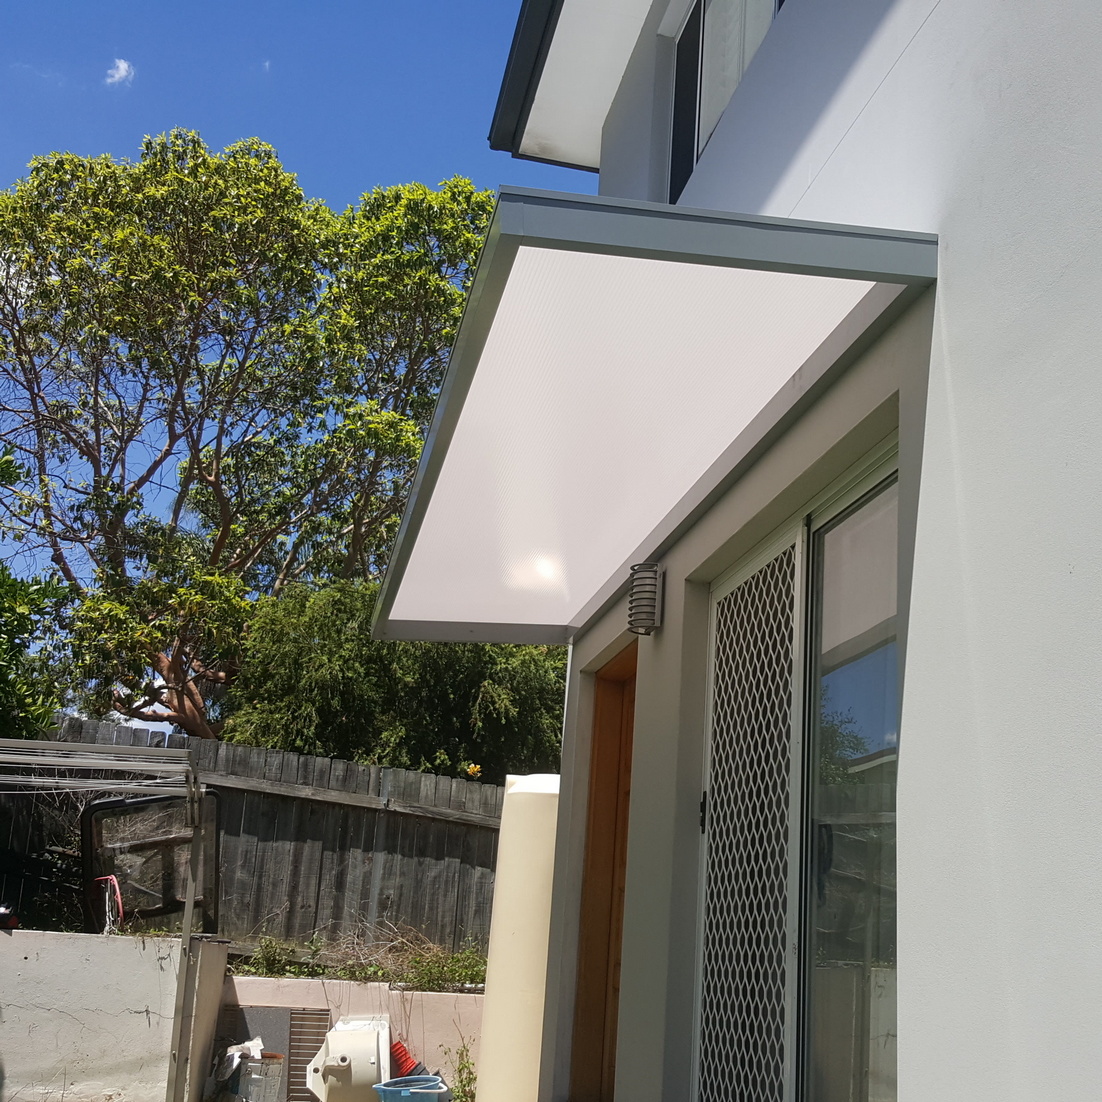
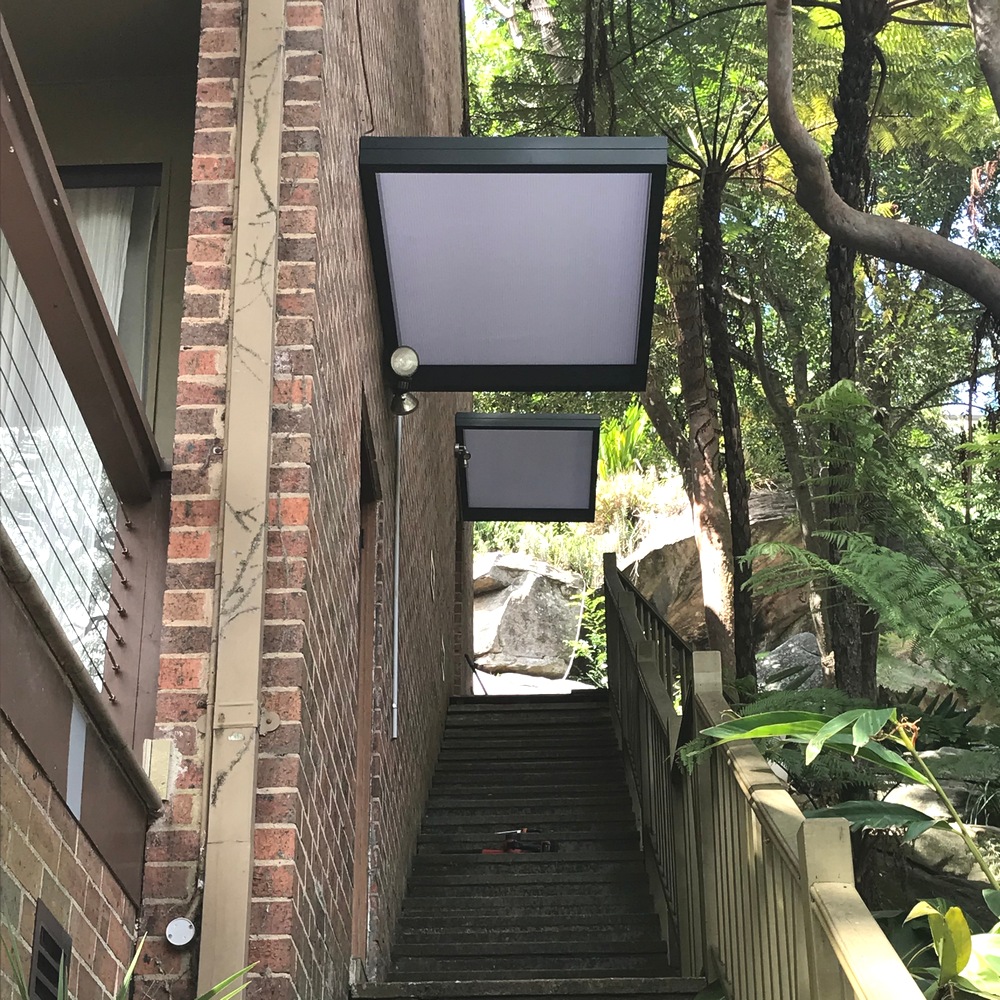
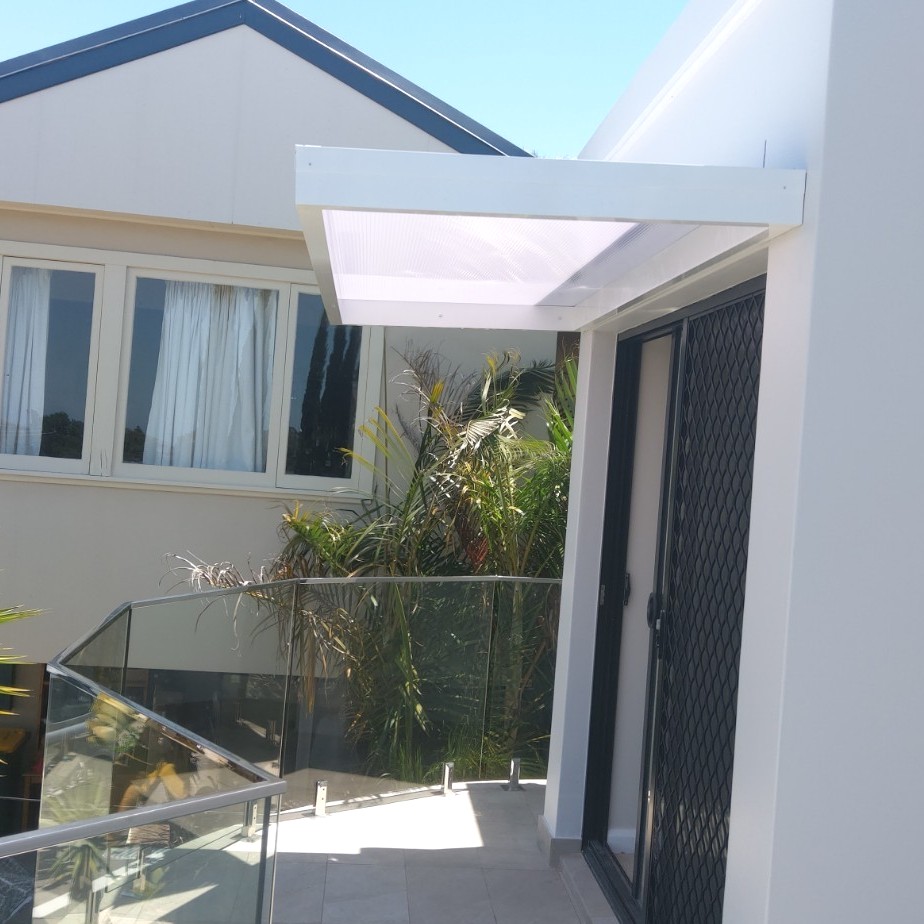
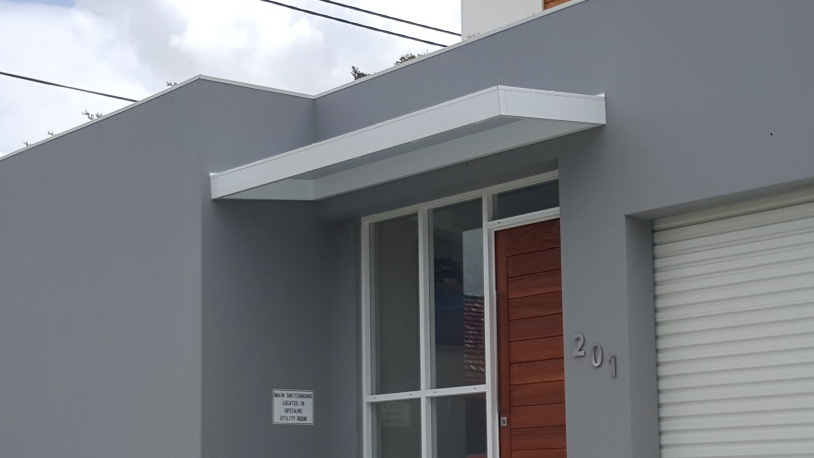
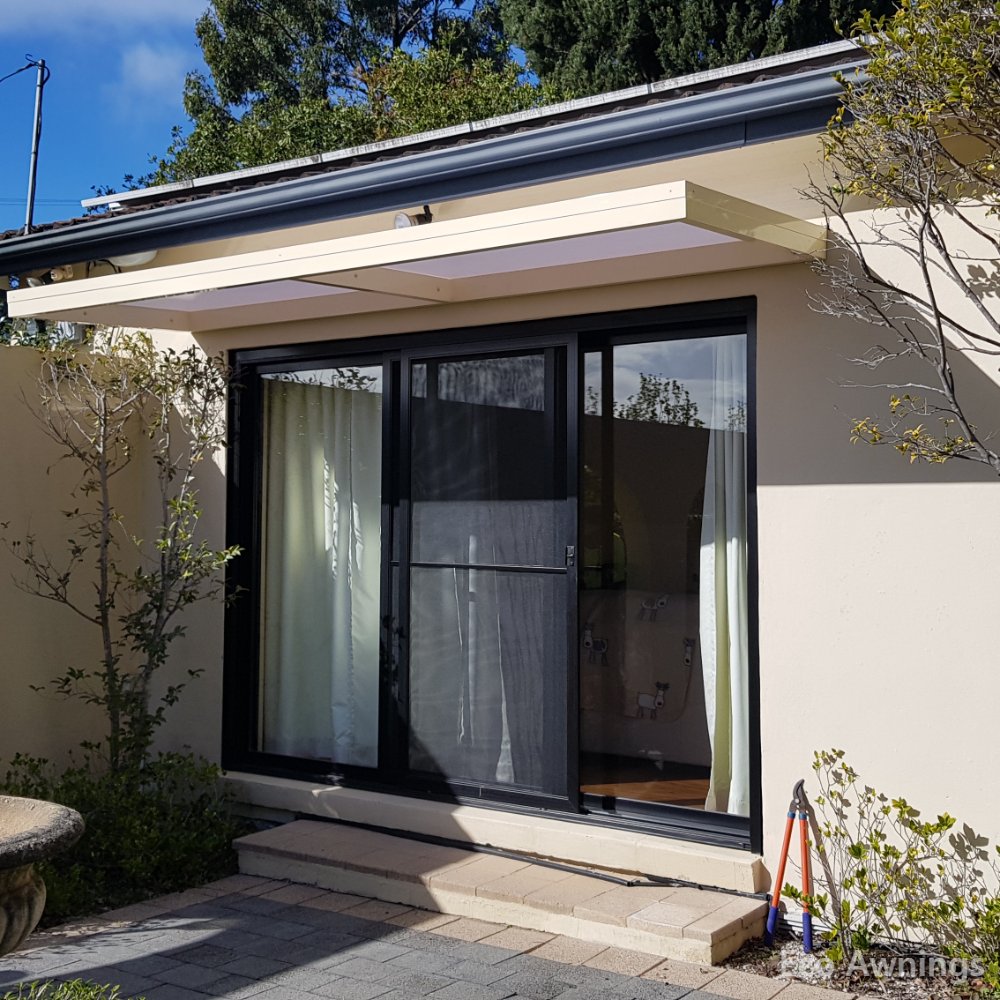
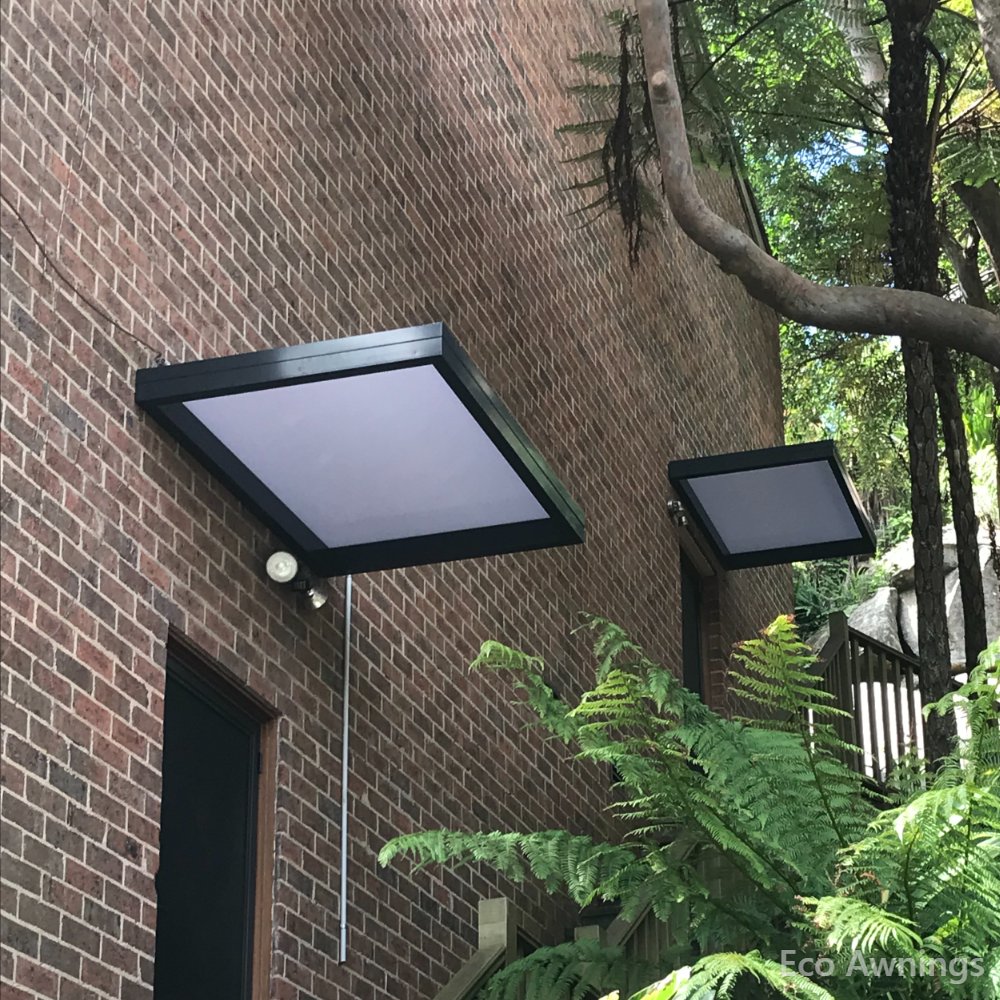
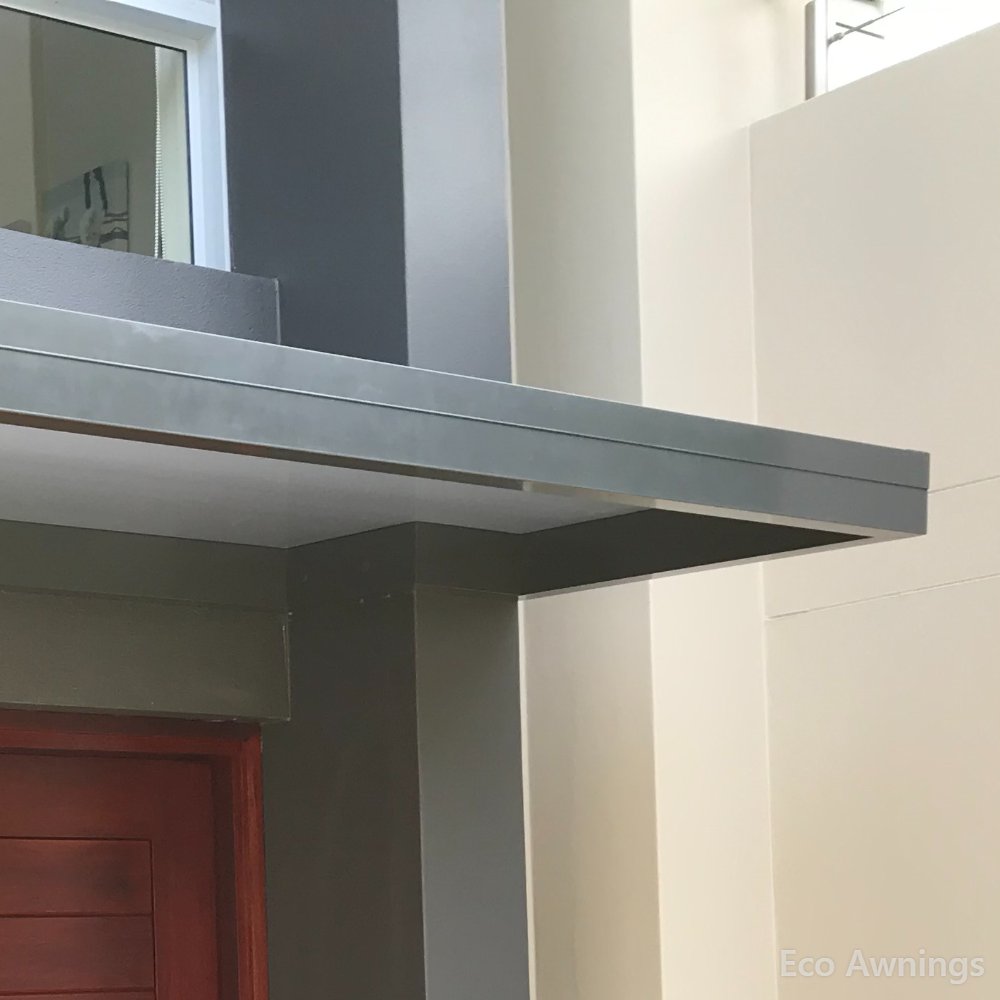
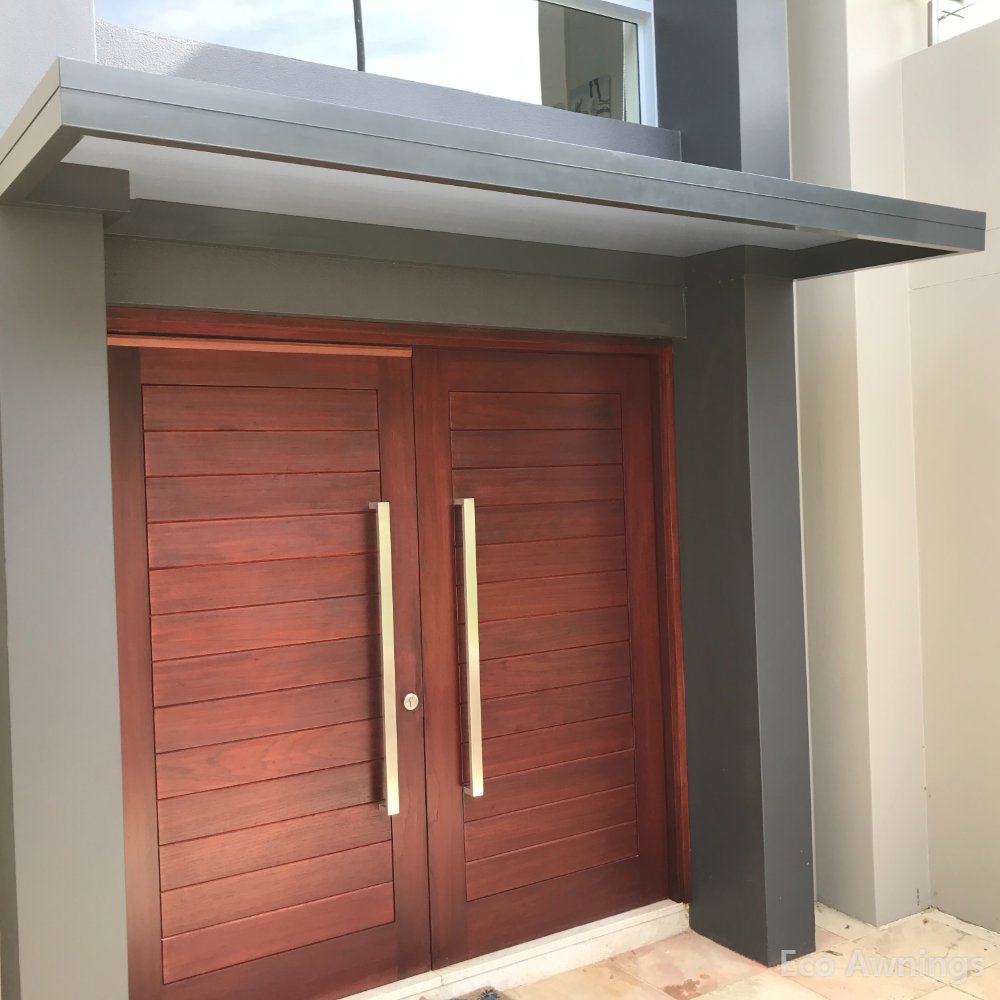
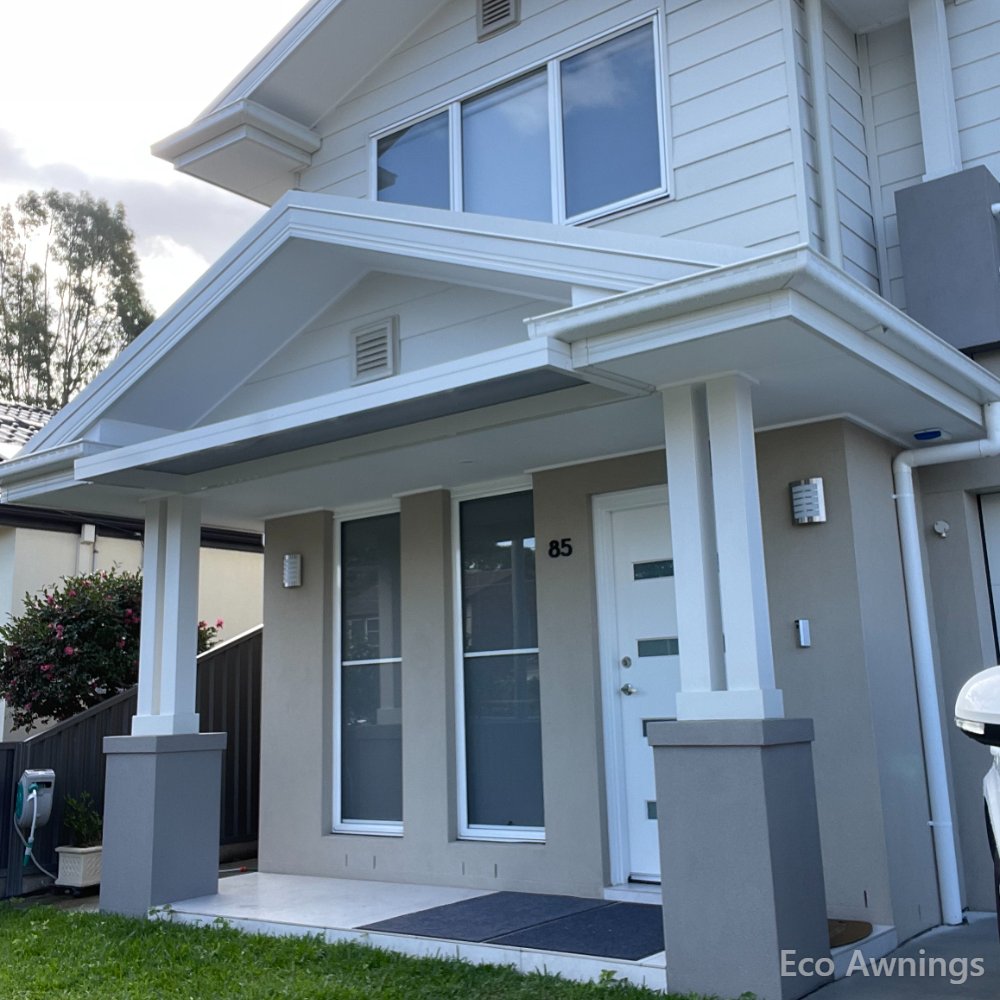
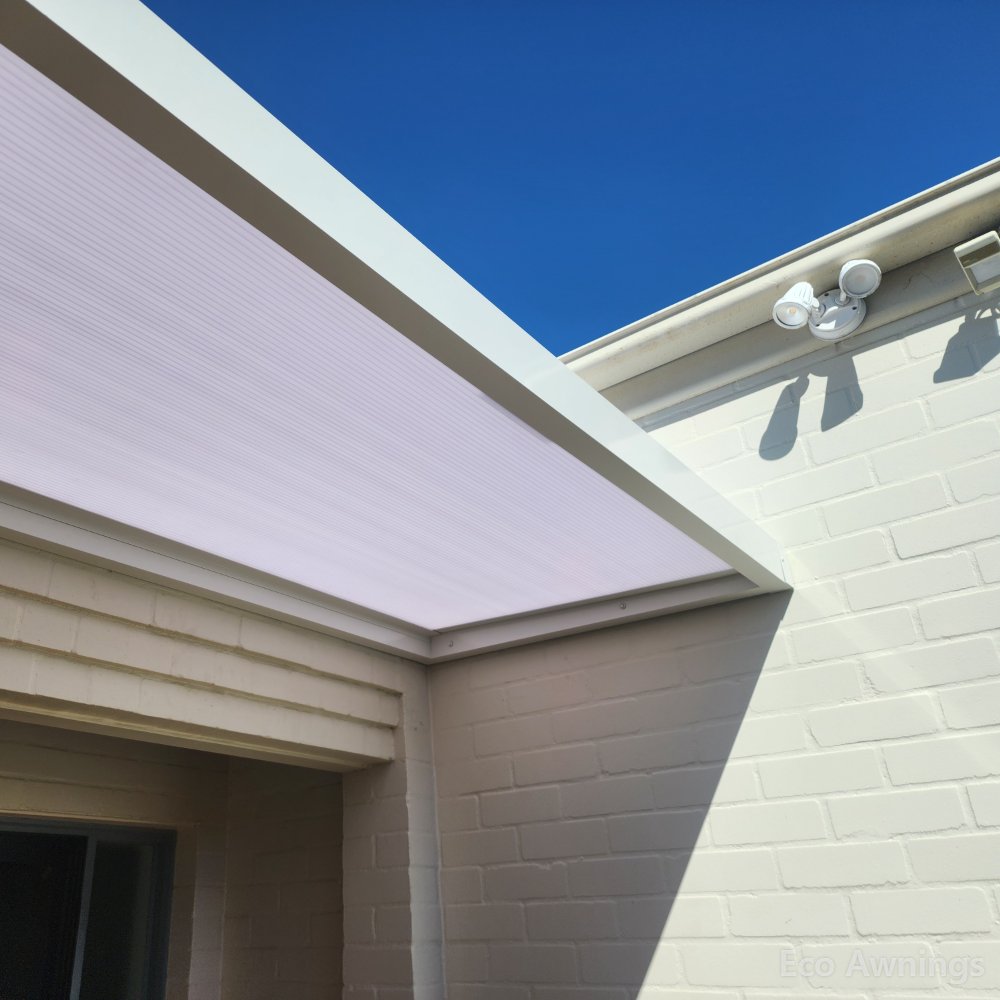
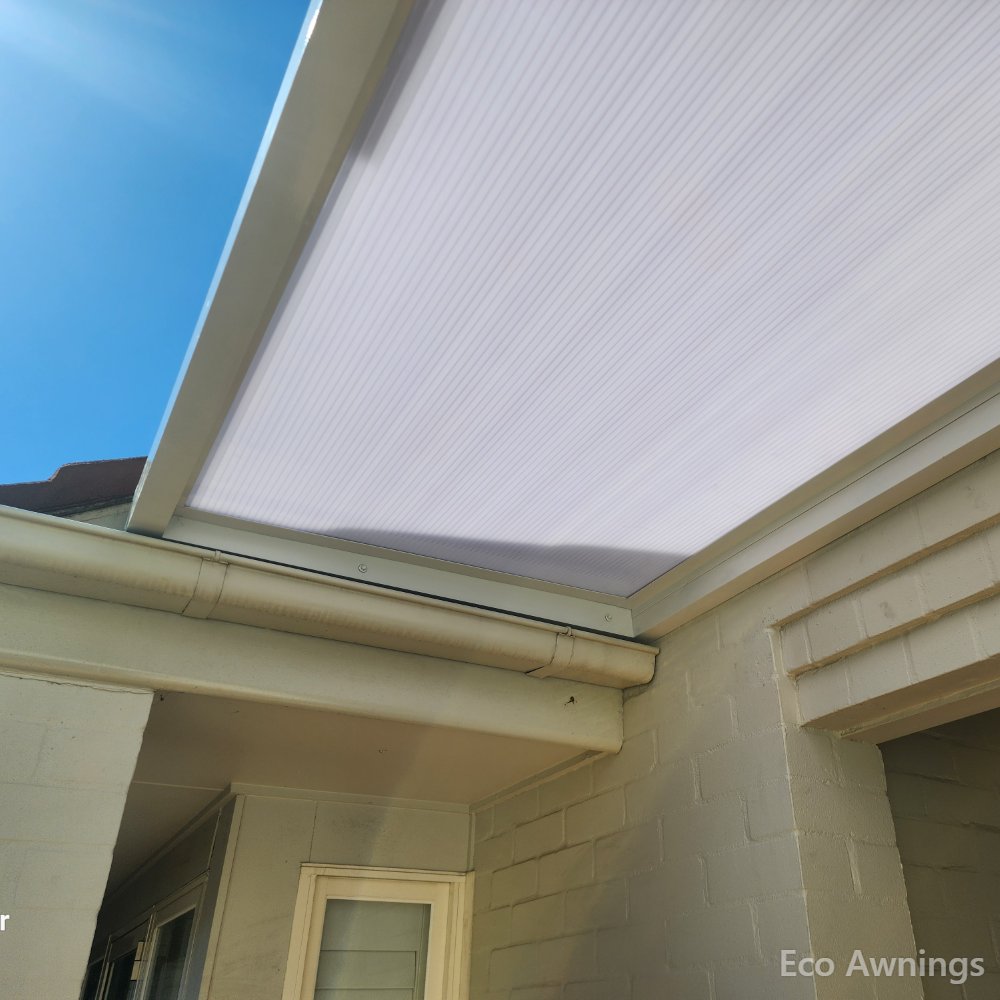
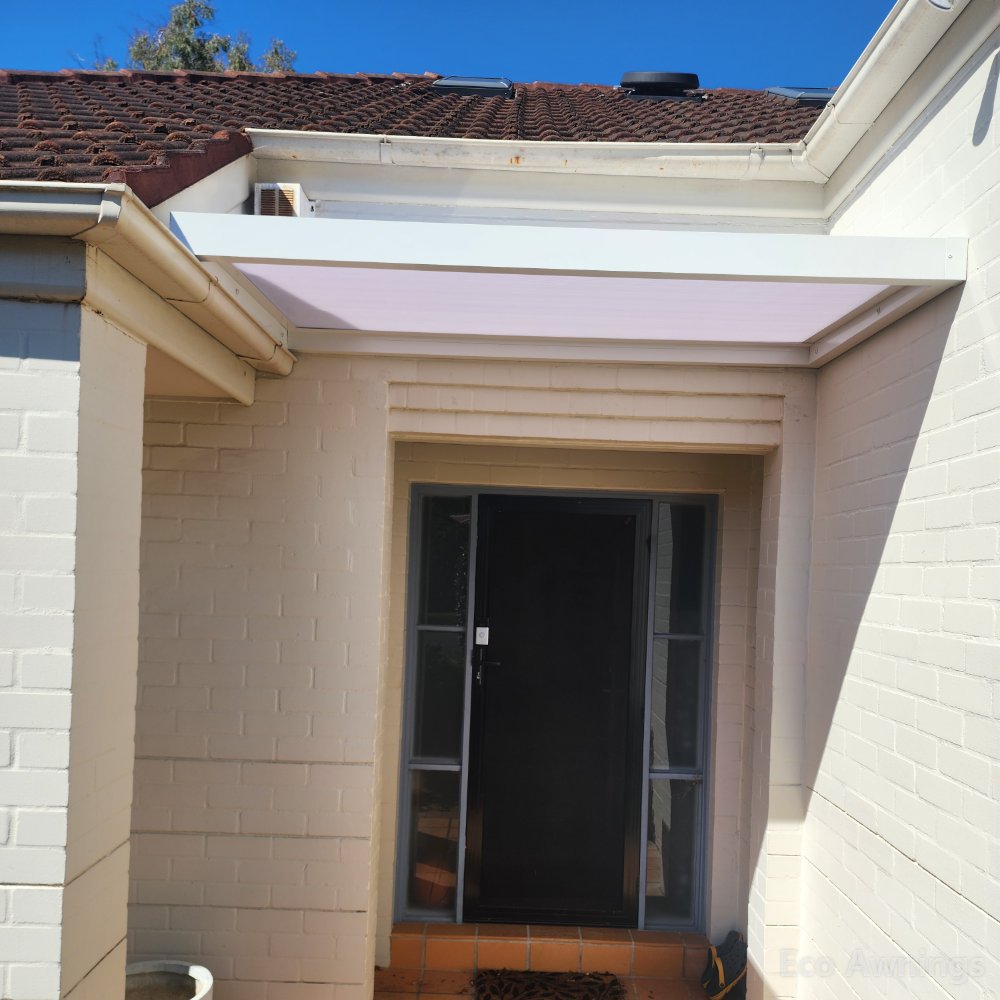
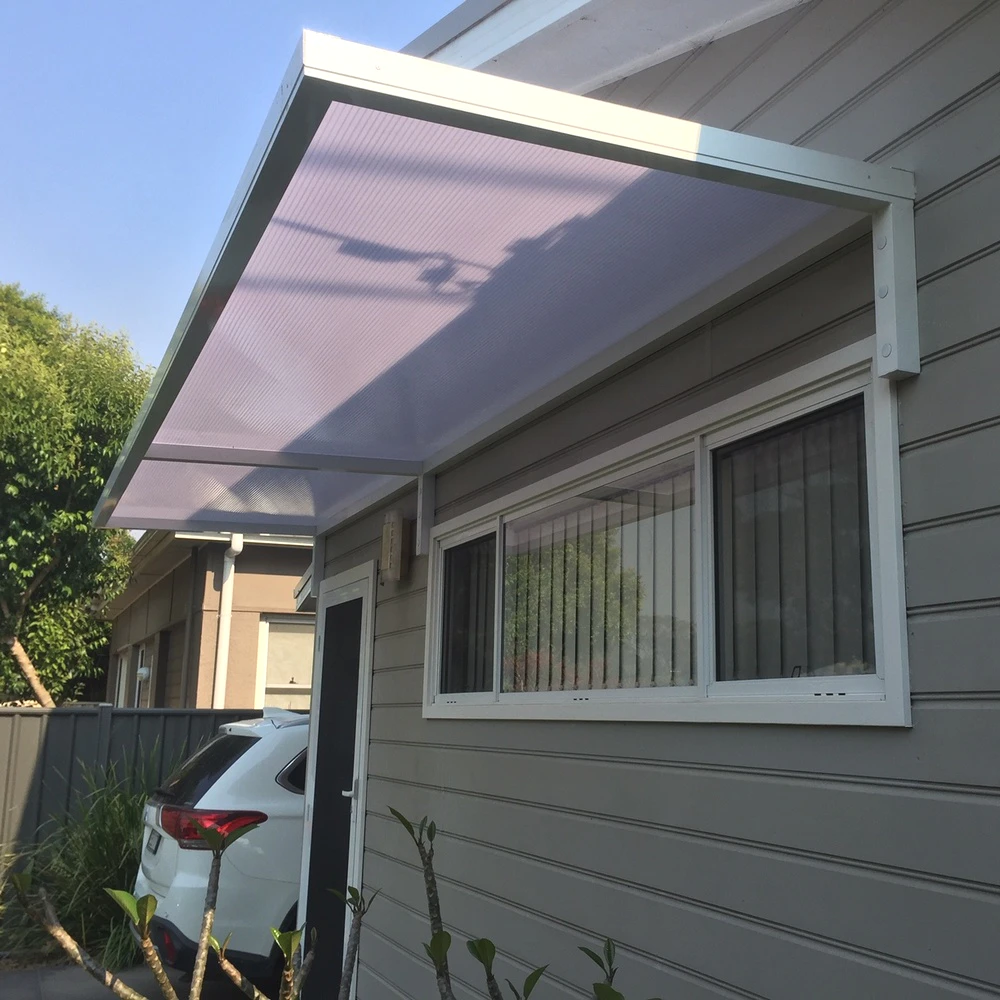
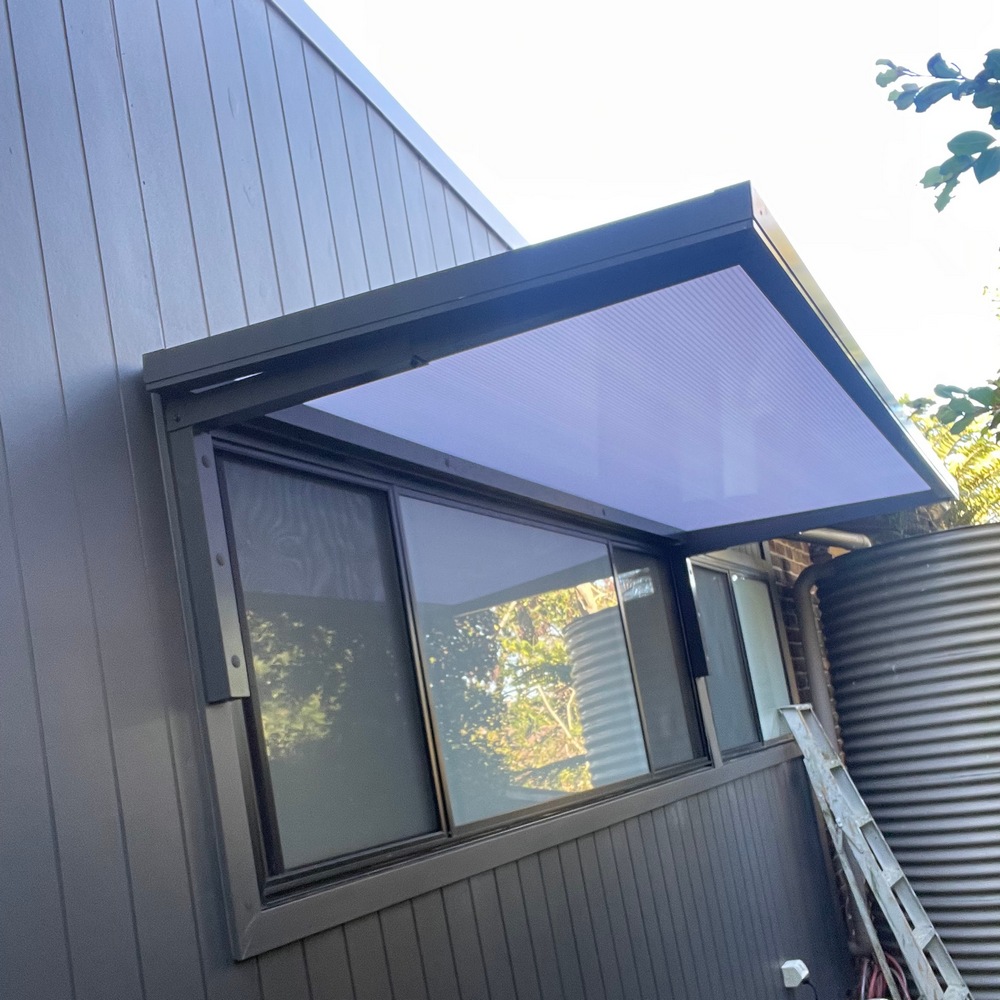
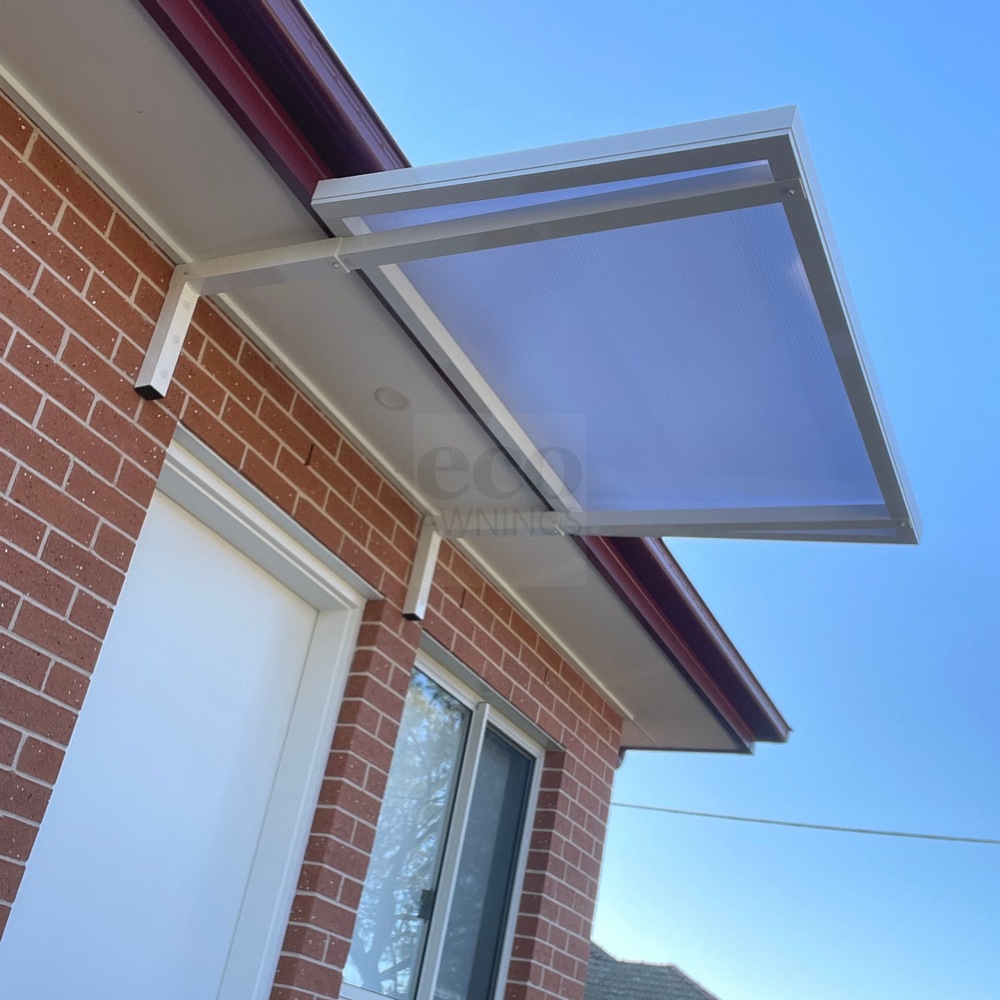
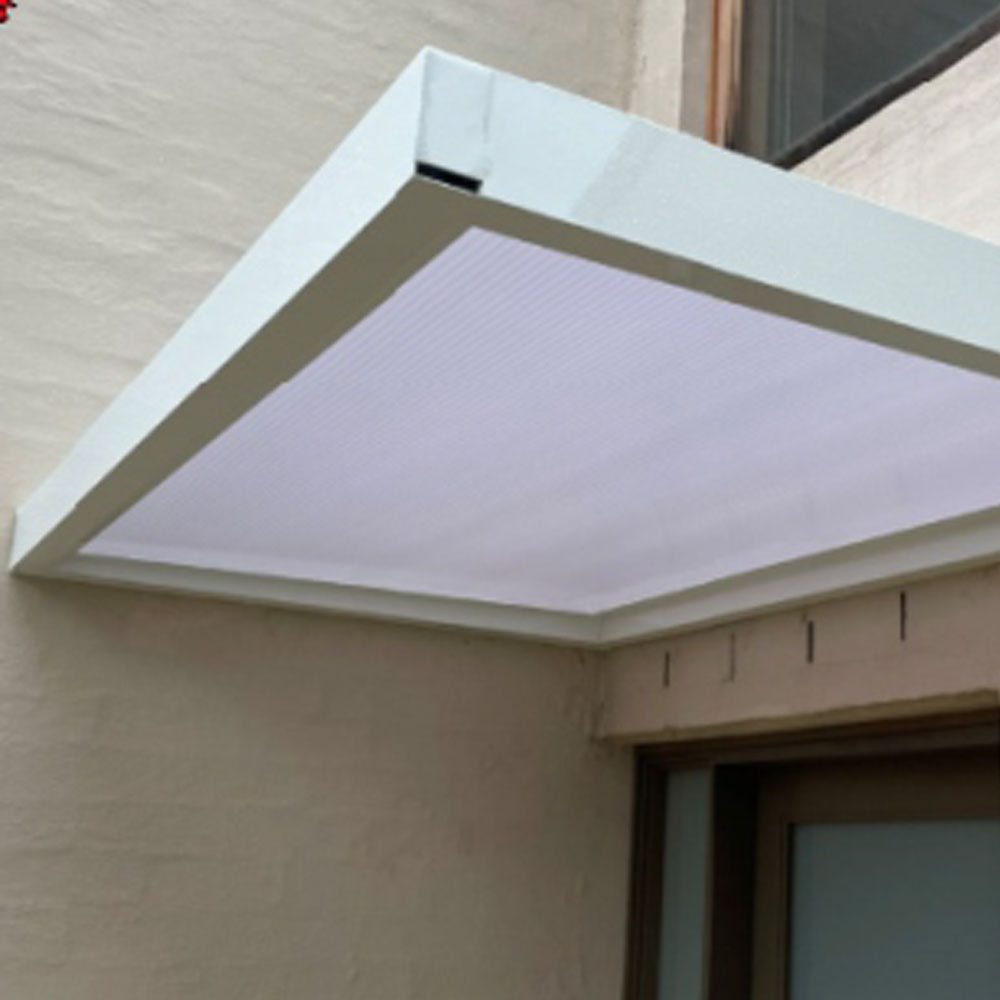
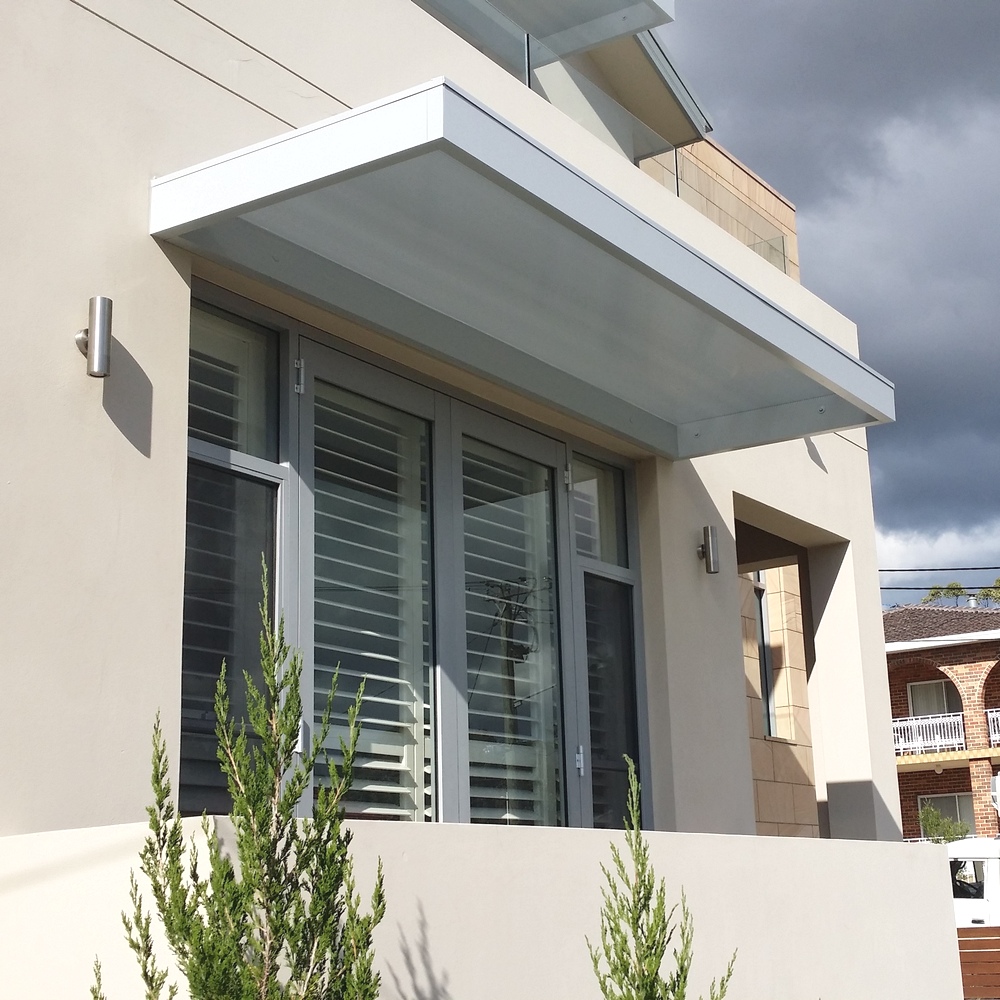
White-frame Slimline 100 with clear polycarbonate mounted over sliding doors on the side of a Sydney homeSatin Black Slimline 100 with opal polycarbonate over a security door, providing weather and rain protection on a Sydney homeWoodland Grey Slimline 100 over a timber front door on a Sydney home, protecting the entry from rain and weatherSatin black Slimline 100 with clear polycarbonate over a timber entry door

A concealed bracket awning made to size in our Sydney workshop. Fully welded, powder coated, polycarbonate fitted. Widths up to 6.5 metres.

★ 150 and 200 box frames available

Larger frames, made to order

The Slimline 150 has a 150 by 50 millimetre box frame, and the Slimline 200 has a 200 by 50 millimetre box frame. Both are custom made to your size in our Sydney workshop, up to 6.5 metres wide. They arrive fully built, nothing to assemble. Your installer fixes the brackets and fits it. Ask us for a quote.

Slimline 150 awning over sliding doors
Slimline 150 over sliding doors
Slimline 200 awning over a rear door
Slimline 200 over a rear door
Get a Quote

Arrives ready to fix

Ready to Install

No assembly required.

There is nothing to build: no on-site cutting and no fabrication. Mount the brackets and slide the awning on.

  1. 1Hand-built in our Sydney workshop
  2. 2Fully welded and powder coated, 10mm polycarbonate fitted
  3. 3Brackets included, ready to fix to the wall

How it fixes

Hidden Brackets

No visible fixings.

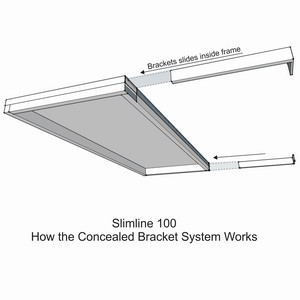
The frame slides over the wall brackets and locks them inside.

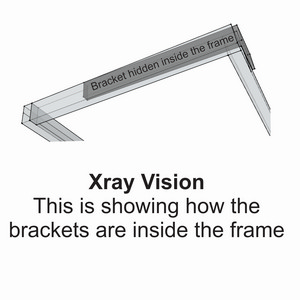
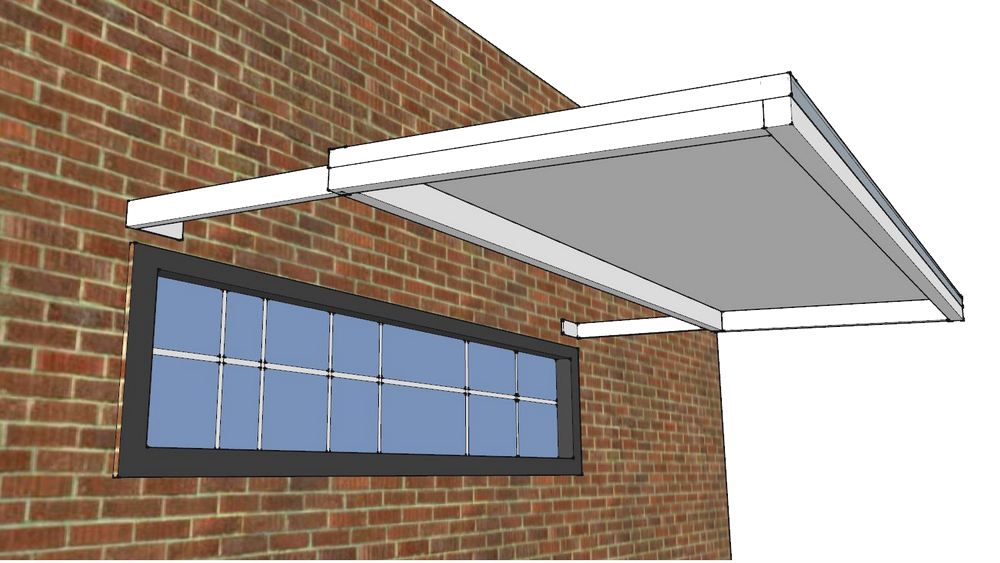
Diagram of the Slimline 100 concealed bracket system showing brackets sliding inside the awning frameX-ray view of a Slimline 100 awning showing the mounting bracket hidden inside the frame

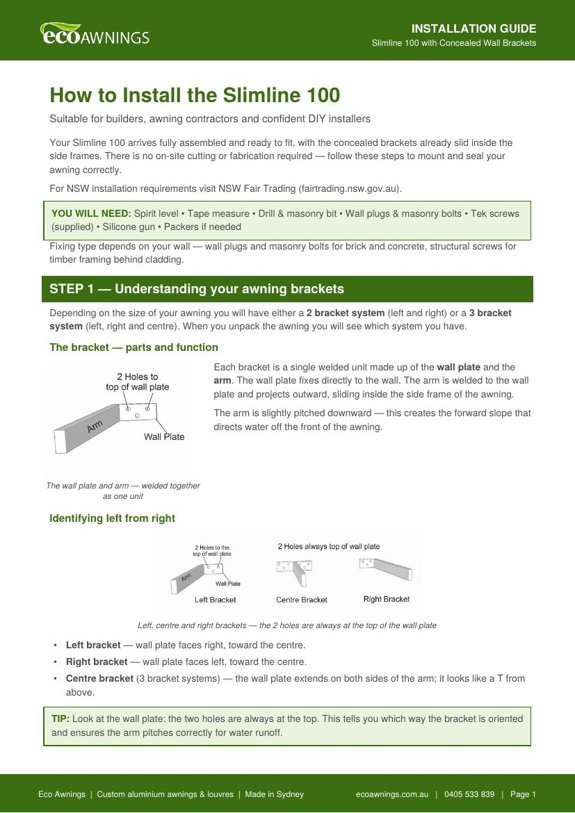
Installing your Slimline 100

How It Goes Up

On site it’s a three step process.

Suitable for builders, awning contractors, and confident DIY self-installers.

1

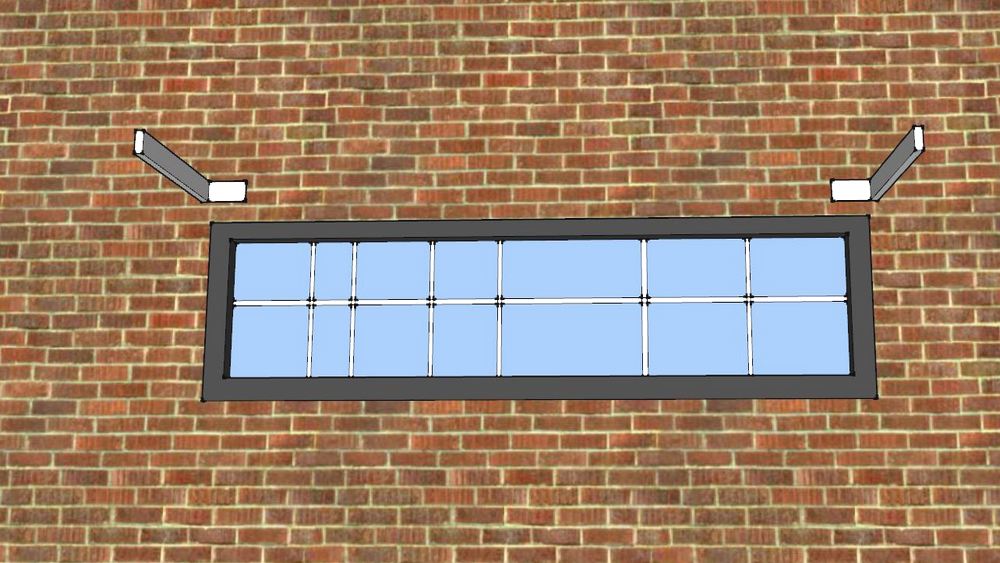
Mount the Brackets to the Wall

Fix both brackets to the wall, level and square with each other, at the right width for the frame.

Slimline 100 concealed bracket mounted on a wall
2

Slide the Awning Over the Brackets

Lift the awning up and slide the side frames down onto the brackets until it sits flush on the wall.

Installing a Slimline 100 awning by sliding it over the wall-mounted brackets
3

Set the Pitch, Secure and Seal

Tilt the front down for water runoff, screw through each side frame, then silicone along the wall.

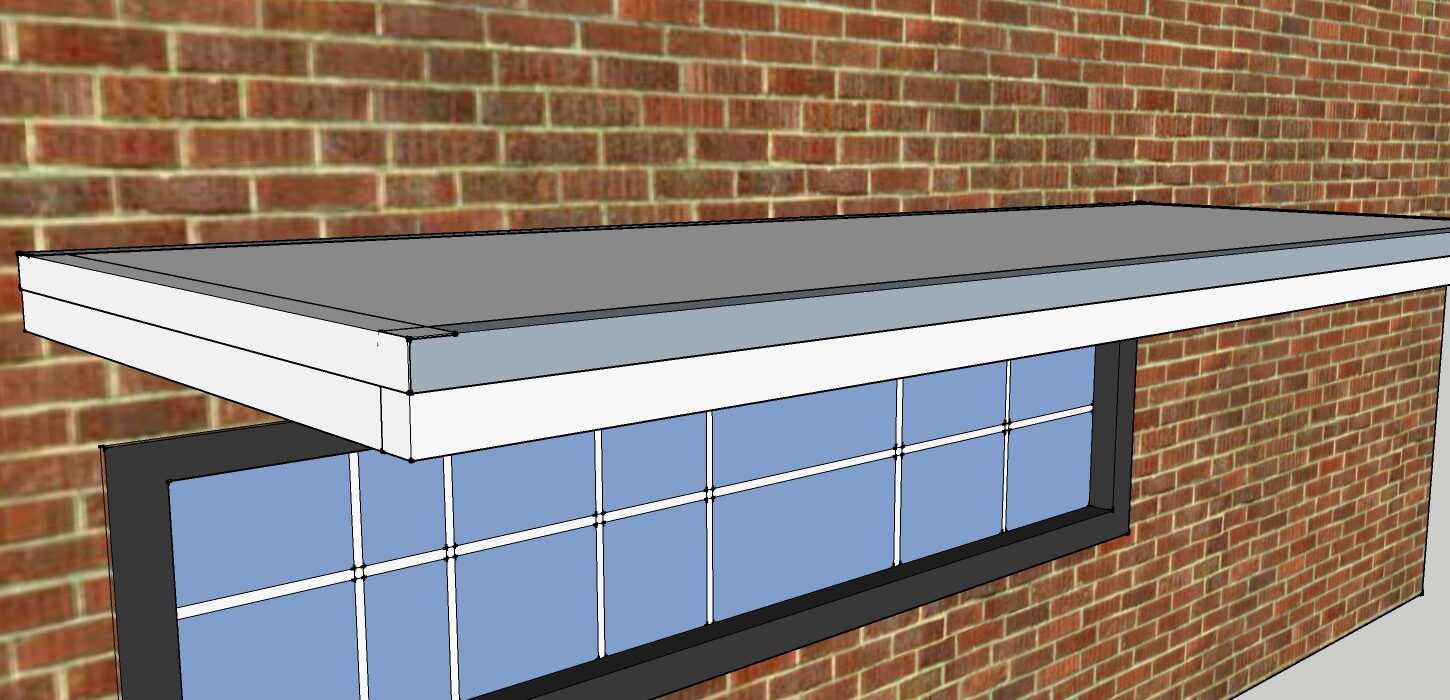
Slimline 100 awning fixed flush to a brick wall above a window
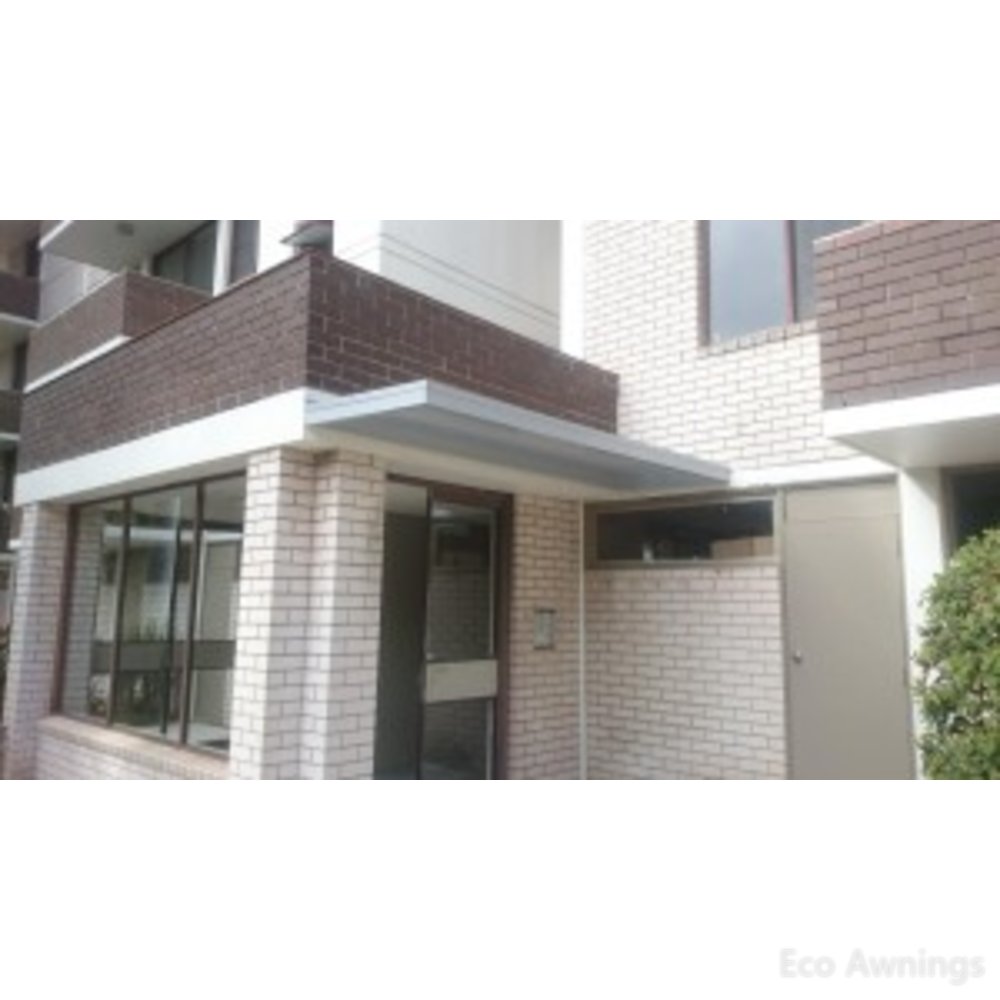
Slimline 100 concealed bracket aluminium awning above an entry door in Sydney
Concealed Bracket Awning Sydney

Slimline 100 with Concealed Wall Brackets
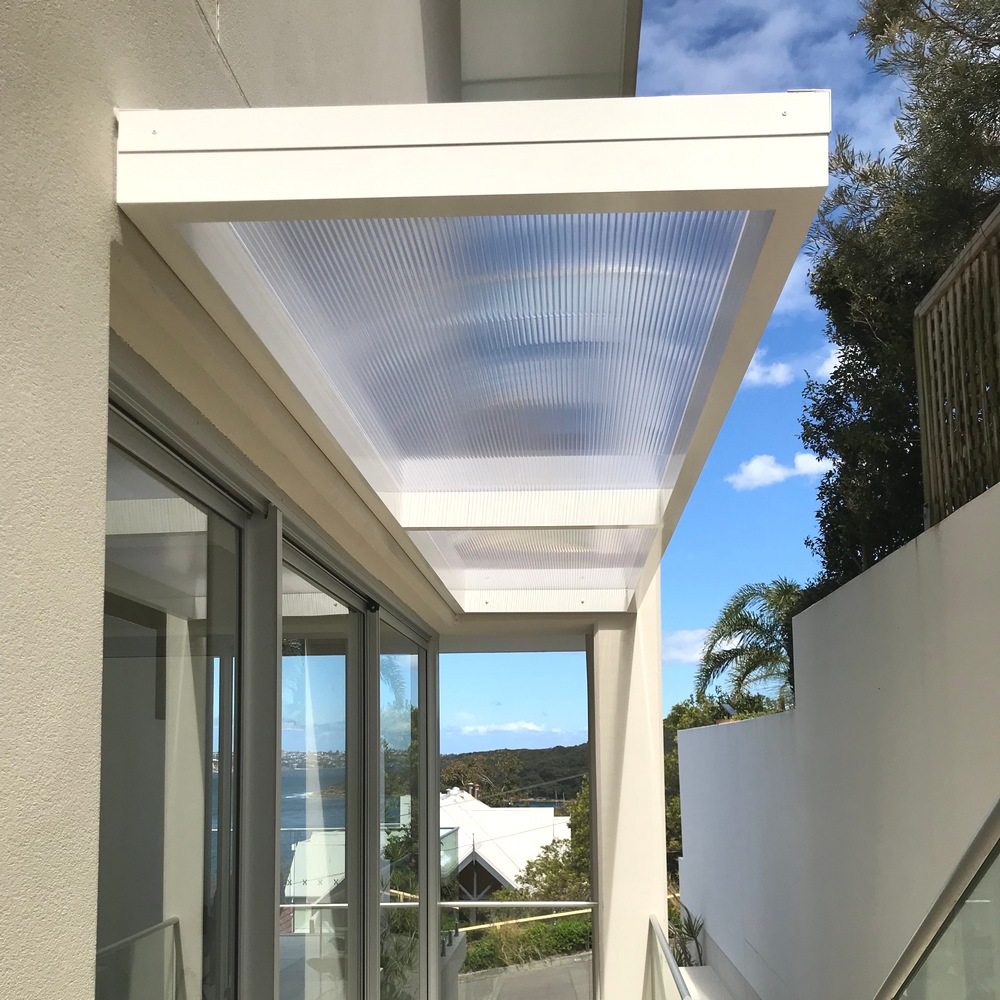
Custom aluminium awning, made in Sydney — supplied Australia-wide.

The Slimline 100 is a custom-made, concealed bracket aluminium awning built for windows and doors on residential and commercial properties. Manufactured in Sydney and supplied direct to builders, awning contractors, and DIY self-installers Australia-wide, it arrives fully assembled and ready to fix to the wall — no on-site fabrication required. Fully welded from 100x50mm aluminium and powder coated to your specification, the concealed bracket system hides all fixings inside the frame, creating a clean, floating appearance with no visible hardware. Custom widths up to 6.5 metres and projections up to 1065mm to suit any opening.
The Slimline 100 is part of our full window and door awnings range, custom-made in Sydney.

Concealed Wall Brackets

All fixings hidden inside the frame for a seamless, floating finish
Fully Welded 100x50mm Aluminium Frame

Engineered for strength and built to last in Australian conditions
Custom Widths Up To 6.5m, Projection To 1065mm

Custom sizes to suit any window, door or opening
10mm Polycarbonate Sheet

Blocks 99.9% of UV, reduces heat, lets natural light through
Fully Assembled & Ready To Fix

Arrives complete from our Sydney workshop — no on-site fabrication needed

BASIX Compliant

Suitable for use in BASIX assessments for NSW residential projects

Ready to Install — No Assembly Required
Every Slimline 100 is hand-built in our Sydney workshop and supplied complete — fully welded, powder-coated, polycarbonate fitted, and ready to fix to the wall. No on-site fabrication. No loose parts. No assembly. Whether you’re a homeowner, builder, or awning contractor, your concealed bracket awning arrives ready to mount, set, secure, and seal. Most typical residential installs are done in under an hour.

Diagram of the Slimline 100 concealed bracket system showing brackets sliding inside the awning frame
X-ray view of a Slimline 100 awning showing the mounting bracket hidden inside the frame

SLIMLINE 100 How It's Built

with Concealed Wall Brackets

How the Concealed Bracket Awning System Works

The Slimline 100 is built around a fully welded 100x50mm aluminium box frame and a concealed bracket system engineered for strength, clean lines, and straightforward installation. Every frame is fully fabricated and welded first, then sent to the powder coater as a complete unit — meaning every surface, every edge, and every corner is covered in powder coat with no raw or exposed aluminium anywhere. This is a significant quality advantage over awnings that are cut from pre-coated material, which leaves raw exposed edges wherever the aluminium has been cut. Once the frame returns from powder coating in your chosen colour, the polycarbonate is fitted and sealed, and a powder coated perimeter angle is sealed around the outside — arriving on site fully assembled and ready to fix.

  • Fully welded one-piece box frame — no joins, no weak points, built for long-term strength and a refined architectural finish
  • Fabricated first, powder coated second — the entire frame is welded and complete before powder coating, ensuring all external surfaces and edges are fully protected with no raw aluminium exposed to the weather
  • Heavy-duty brackets included — designed to slide inside the side frame cavity, hiding all fixings completely out of sight
  • Pitch pre-engineered into the bracket — water runoff is built in from the start, with on-site adjustability to fine-tune the angle to suit wall conditions
  • Control where the water runs — by adjusting the bracket orientation, water can be directed to run off the front, to the left, to the right, or to a front corner — ideal where drip lines matter for entries, pathways, or facade design
  • Polycarbonate fitted and sealed after powder coating — sealed between the sheet and frame, with a powder coated perimeter angle sealed around the outside for a fully weatherproofed finish
  • No visible brackets or fixings — the frame slides over the wall-mounted brackets, locking them inside the cavity for a clean floating appearance with no exposed hardware

The Slimline 100 is designed for installation onto brick or concrete walls, or where solid structural fixings are available behind cladding.

Installing Your Slimline 100 — Overview


The Slimline 100 arrives fully assembled and ready to fix — the frame is welded, the polycarbonate is fitted, and the brackets are included. There is no on-site cutting, no drilling through the frame, and no fabrication required. Everything is completed in our Sydney workshop before it leaves — on site it’s a four step process suitable for builders, awning contractors, and confident DIY self-installers.

Step 1 — Mount the Brackets
Fix the left bracket to the wall first, level and square. Measure across to the correct bracket width (frame width minus 10mm) and fix the right bracket. Double check both brackets are level with each other and square to the wall.

Step 2 — Slide the Awning Over
Lift the awning up and over the wall-mounted brackets, sliding the side frame cavity down onto each bracket until the awning sits flush against the wall.

Step 3 — Set the Pitch
Push the rear of the awning up and tilt the front downward to create the correct forward pitch for water runoff. The pitch is pre-engineered into the bracket but can be adjusted on site to suit conditions.

Step 4 — Secure and Seal
Drive two Tek screws through each side frame into the bracket to lock the awning in place, then finish with a bead of silicone between the awning and the wall to seal out water.

Slimline 100 concealed bracket mounted on a wall
Installing a Slimline 100 awning by sliding it over the wall-mounted brackets

Want the full detail before you order? Read the complete Slimline 100 installation guide or download the PDF version — or get a quote and we’ll build it ready to fit.

Before you buy

Questions People Ask Before They Buy

01

Who puts it up?

Anyone handy with a drill.

YouDo I need an installer?
Eco AwningsNot necessarily. The Slimline 100 is one of the easiest installs there is. Two brackets go on the wall. The awning slides up and over them. Done.
YouSo you don't install?
Eco AwningsNo. We make and supply it. A local handyman or tradie puts it up. We can put you in touch with an installer. Just ask.
YouWhat does it cost to put up?
Eco AwningsDepends on your wall, how high it goes, and who you use. A handyman down the road is usually the cheapest. Send us photos of the wall and we'll point you the right way.
Slimline 100 awning mounting brackets fixed to a brick wall above a window before the awning is fitted
02

How does it get to me?

Easily. We've been shipping awnings all over Australia for years.

YouI'm in Sydney.
Eco AwningsWe deliver it ourselves, and the delivery price comes with your quote. Or pick it up free from our workshop in Cherrybrook. Just ring first.
YouI'm outside Sydney.
Eco AwningsThen it goes on its own pallet, wrapped and sealed, so nobody touches the awning, only the pallet. Not one damaged since we switched to pallets.
YouHow does the pallet reach me?
Eco AwningsDepot to depot is cheaper. They ring you and you collect it. To your door is easier, but a packed awning weighs 30 kilos or more, so you'll need a forklift to unload it. We'll talk the options through with you.
Woodland Grey Slimline 100 over a timber front door on a Sydney home, protecting the entry from rain and weather
03

Will it fix to my wall?

On brick or rendered brick, yes. That's what it's made for.

YouMy wall is brick.
Eco AwningsPerfect. The Slimline 100 fixes straight onto brick or rendered brick, and the brackets hide inside the awning. Nothing showing underneath. Just a clean, slim look.
YouMine is cladding over timber studs.
Eco AwningsThen the Slimline 50 Cantilever is the better fit. Its brackets move to wherever the studs are. Hebel? Longer arms and chemset fixings. No wall space above the door? The Slimline 50 Under Eave.
YouHow do you know which one I need?
Eco AwningsSend photos of your wall with your quote request. We design the awning to suit the wall, where it sits, and how open it is to the wind. It goes up without a fight.
close-up of a Slimline 100 awning frame side-fixed directly to a painted brick wall
04

How long does it take?

About three weeks from your deposit.

YouWhy three weeks?
Eco AwningsBecause yours doesn't exist yet. No stock on a shelf. We make it to your size, for your wall, in your colour.
YouIs it worth the wait?
Eco AwningsThe Slimline 100 has a fully welded frame. One solid piece from our workshop, not a box of parts screwed together in your driveway.
YouAnd then?
Eco AwningsThree weeks later, it's on the wall. And it stays there.
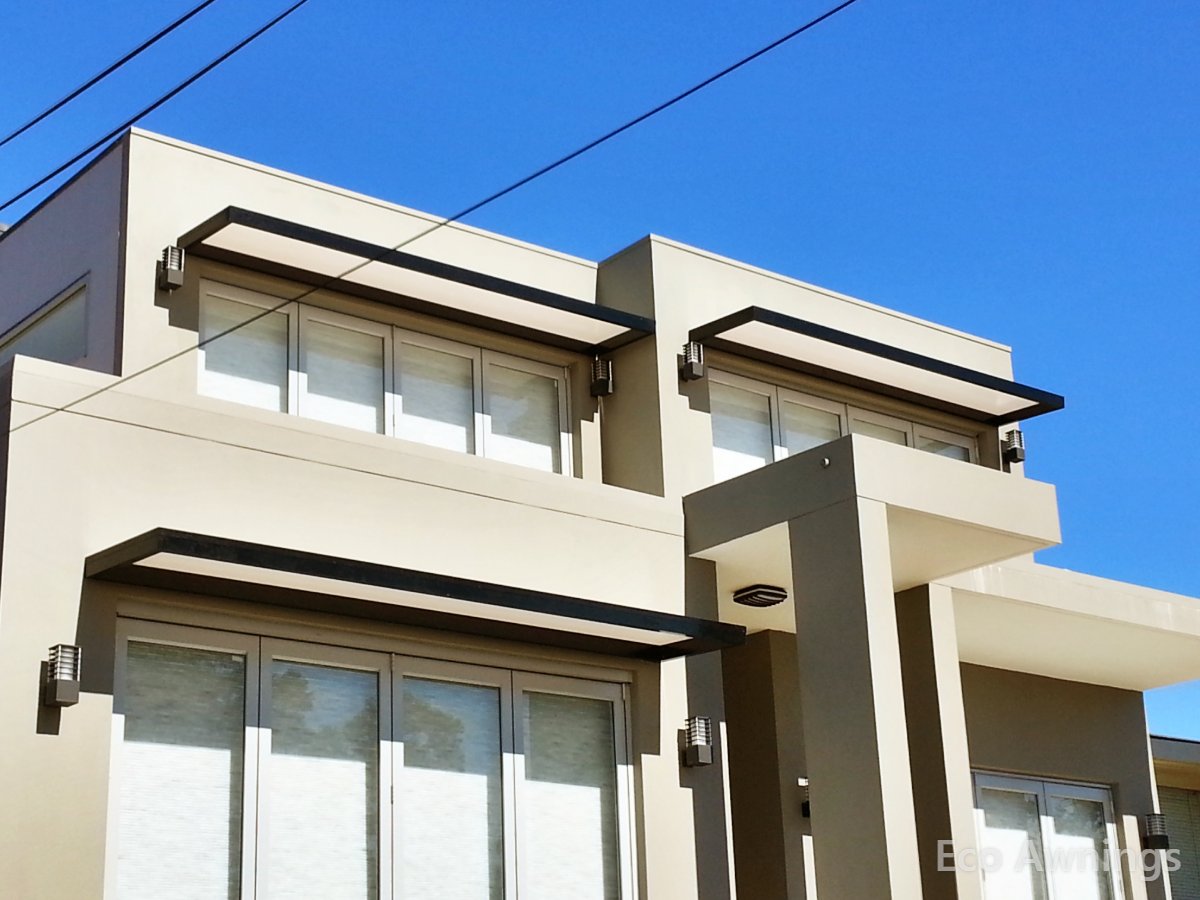
three black Slimline 100 awnings mounted over bi-fold doors and windows on a modern two-storey home
05

How big can it go?

Up to 6.5 metres wide, in one piece.

YouHow wide can you make it?
Eco AwningsUp to 6.5 metres wide, projecting up to 1065 mm.
YouOver a double door?
Eco AwningsEasily. Two hidden brackets up to 3 metres, then three or four depending on the size, your wall and the wind. We add brackets for strength wherever it's needed.
YouIs the 100 the only frame?
Eco AwningsIt's the one most people choose. A Slimline 150 or 200 frame is there on request for the bigger spans, built the same way with the same hidden brackets.
YouWhat if my opening is an odd size?
Eco AwningsEvery Slimline 100 is made to your measurement. Tell us the opening and we make it fit.
White Slimline 100 spanning a sliding door and side window for full weather cover.

THE COVER MATERIAL

Learn About Our Polycarbonate Sheeting

Every awning is covered in premium 10mm twin-wall polycarbonate, sealed directly to the frame:

High Impact Resistance

Blocks 99.9% of UV
Reduces Heat Buildup

Sound Insulation
5 Colour Options

Natural Light Through
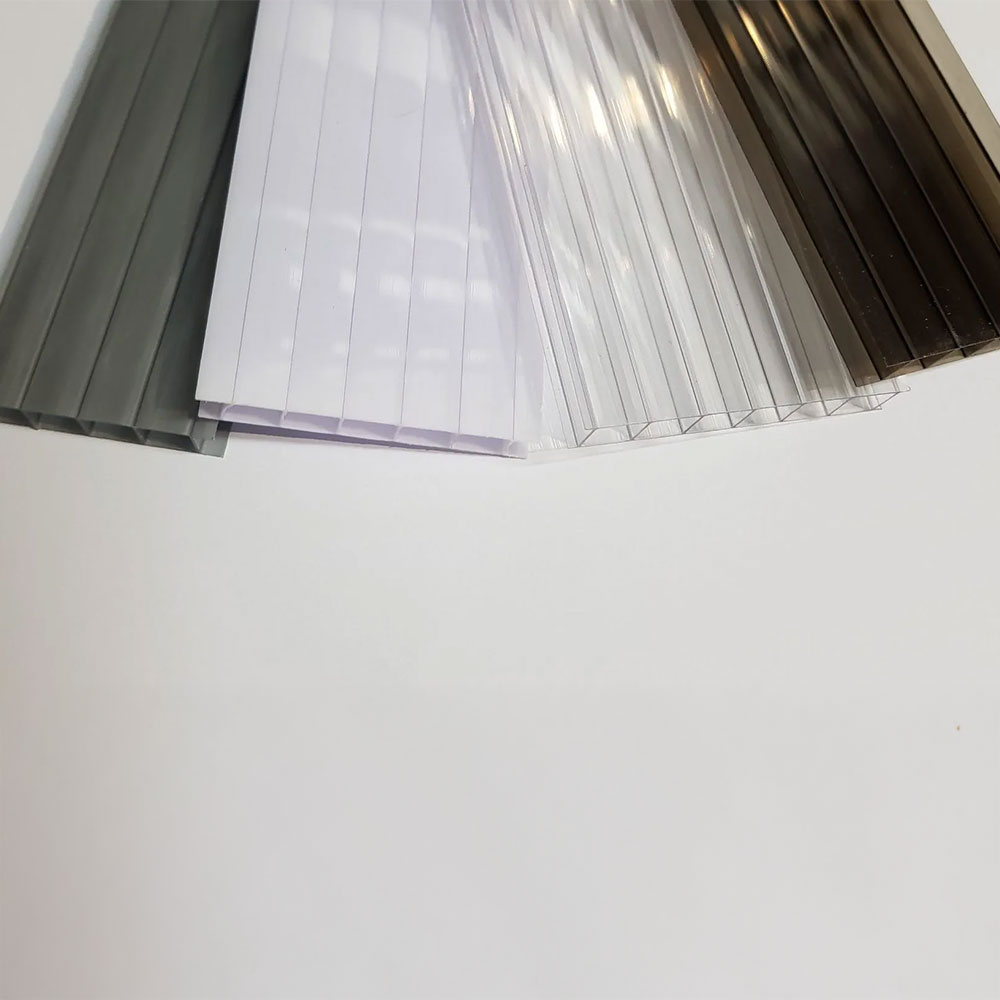
See the full polycarbonate details — colours, specs and warranty →
10mm twin-wall polycarbonate sheets in Solar White, Grey and Bronze

THE FINISH

Learn About Our Powder Coating

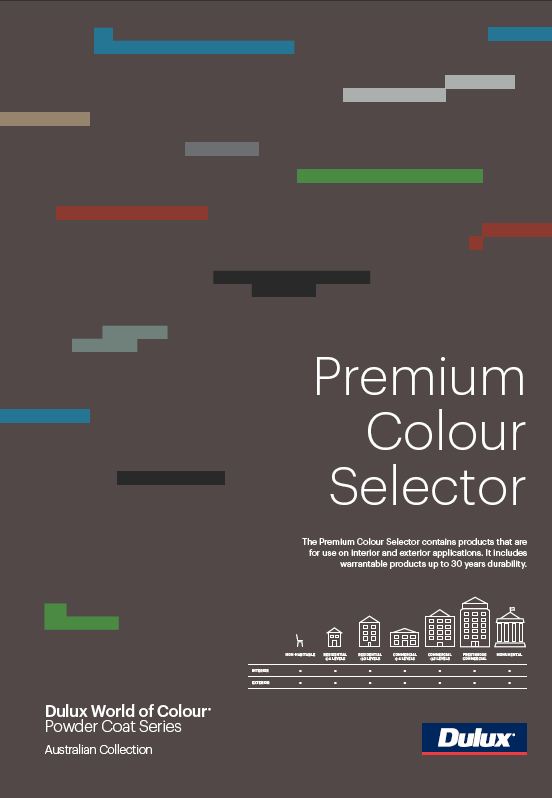
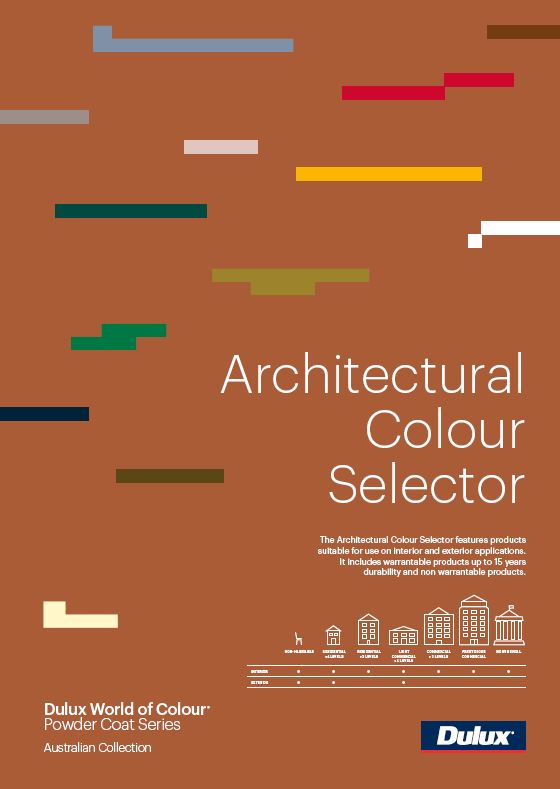
Every awning and louvre is powder coated before delivery — never painted on site. We use premium Dulux Duralloy® powders, the Australian architectural standard: a thick, uniform finish that resists chipping, fading and coastal weather far better than paint.

Six standard colours — no colour surcharge:

Satin Black

Pearl White

Monument

Woodland Grey

Shale Grey

Primrose

Prefer something different? Any colour from the full Dulux range can be matched — including every Colorbond®-matched tone.

Click here to learn more about powder coating →
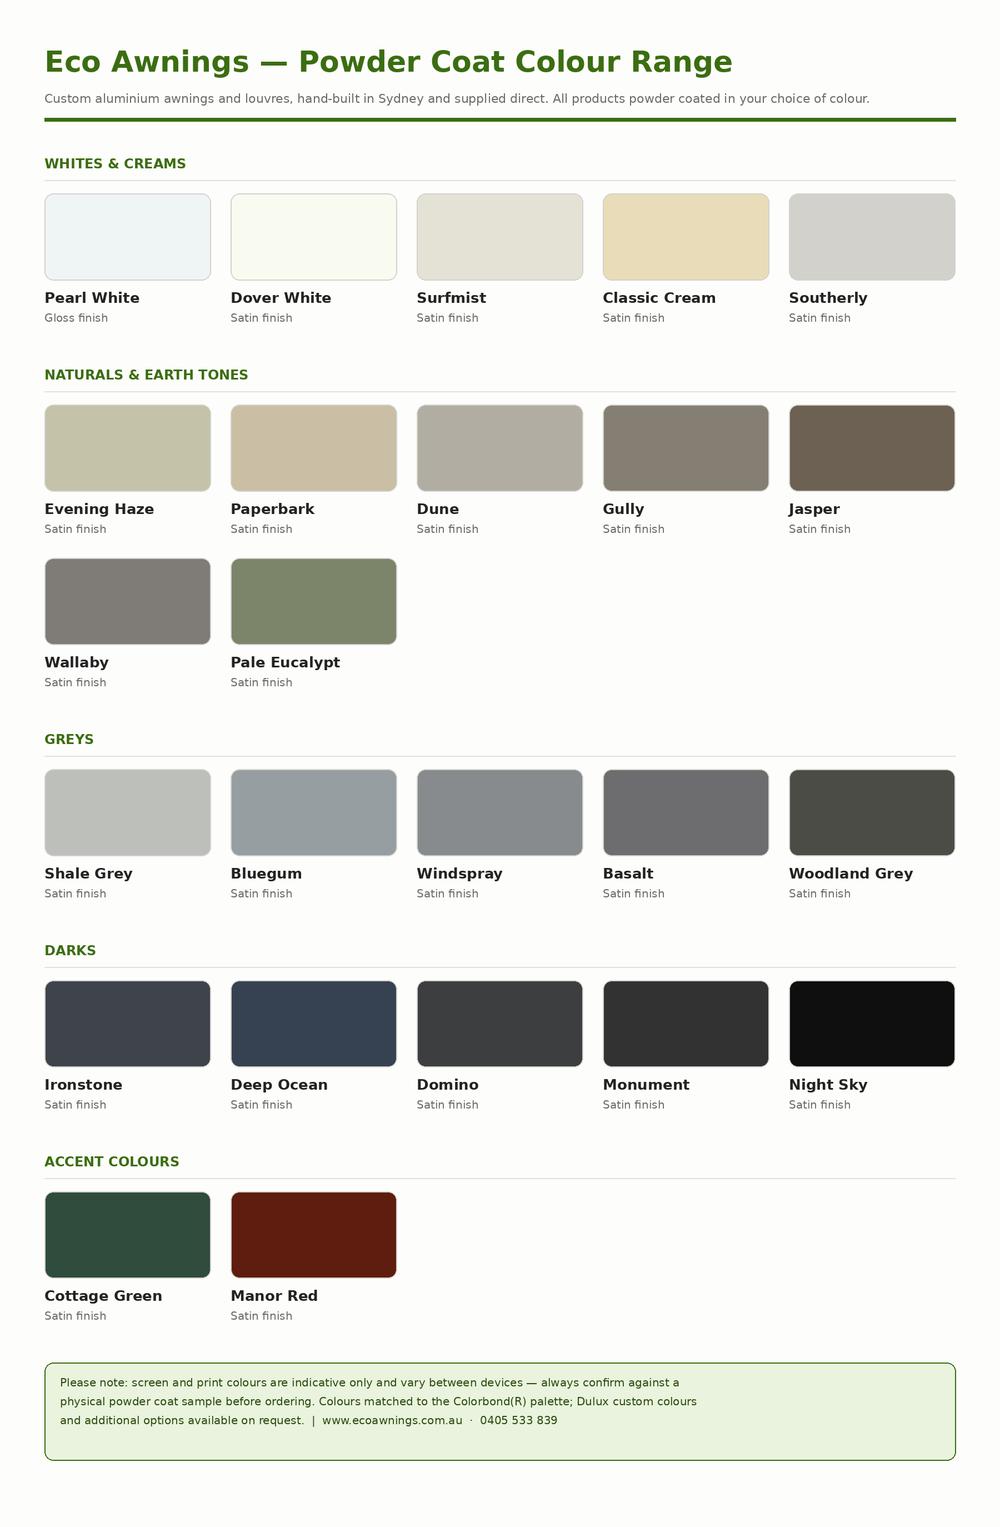
Eco Awnings powder coat colour range chart

Manufactured in Sydney and supplied direct – custom-made for every project, with no middlemen and no delays.